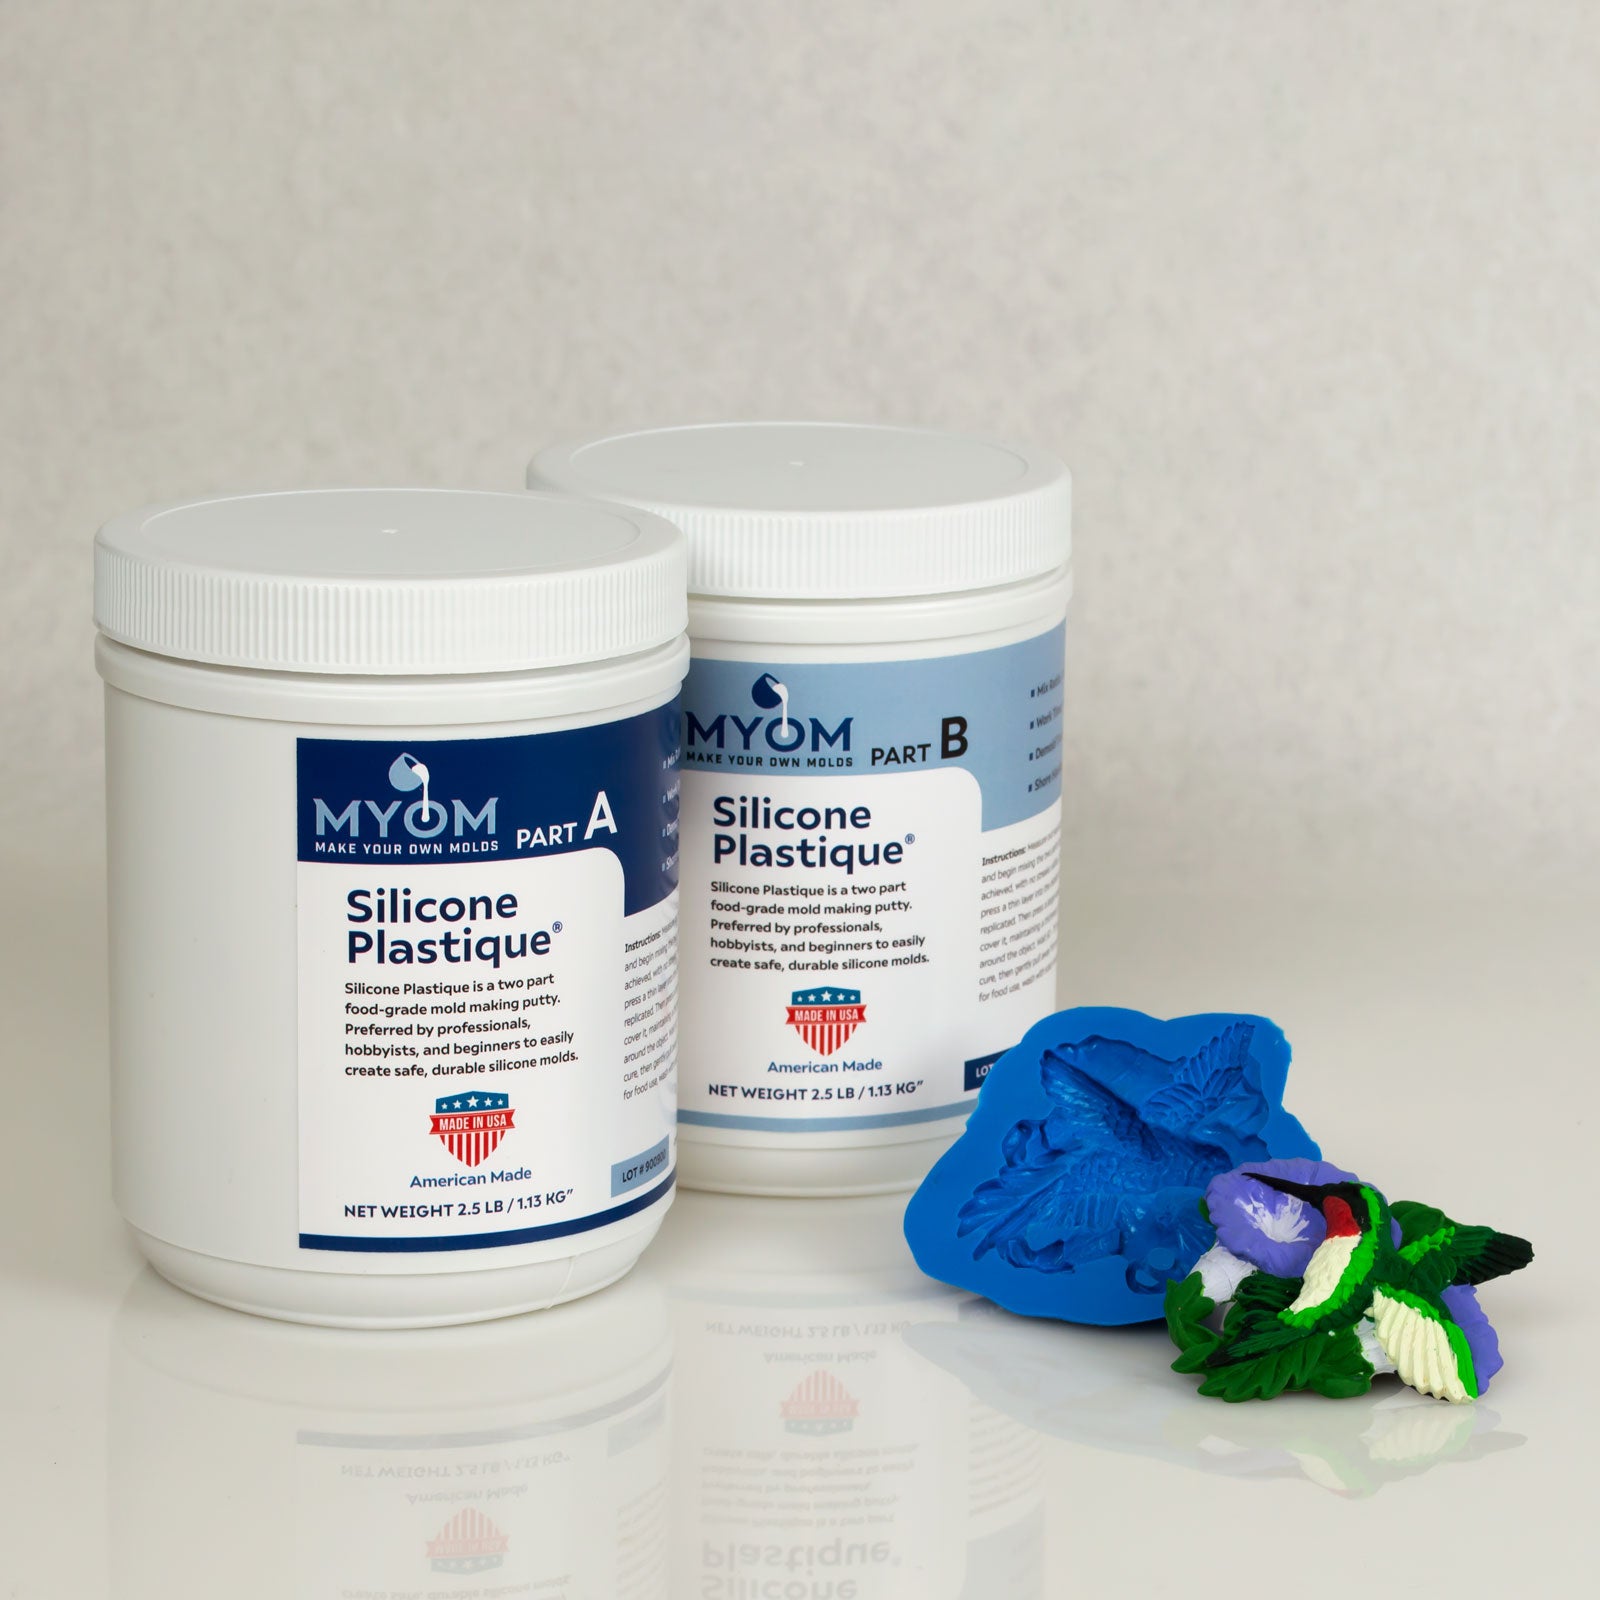
How to Make a Multi-Cavity Mold with Silicone Plastique®
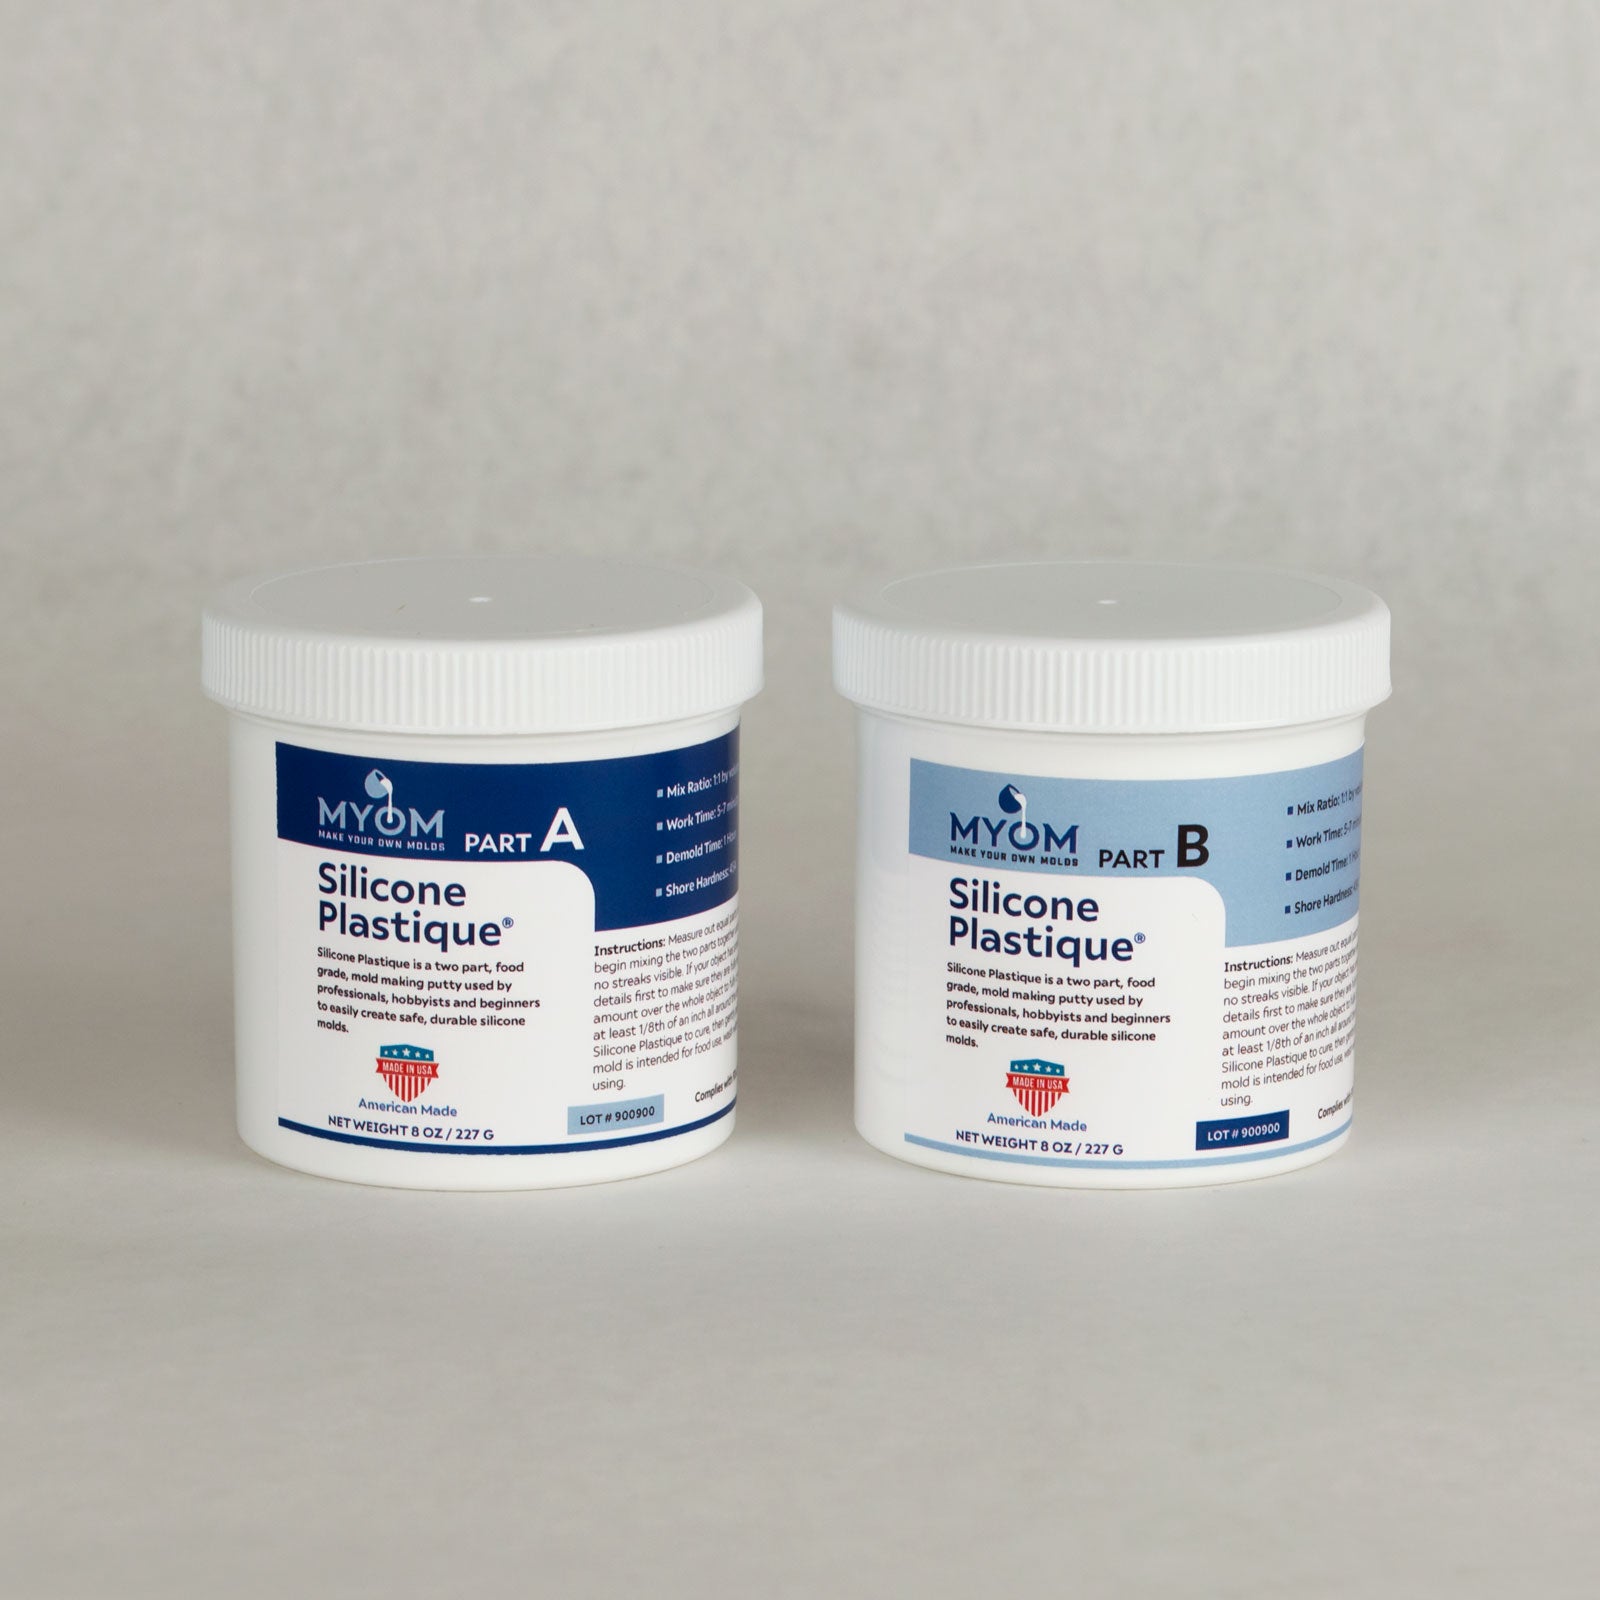
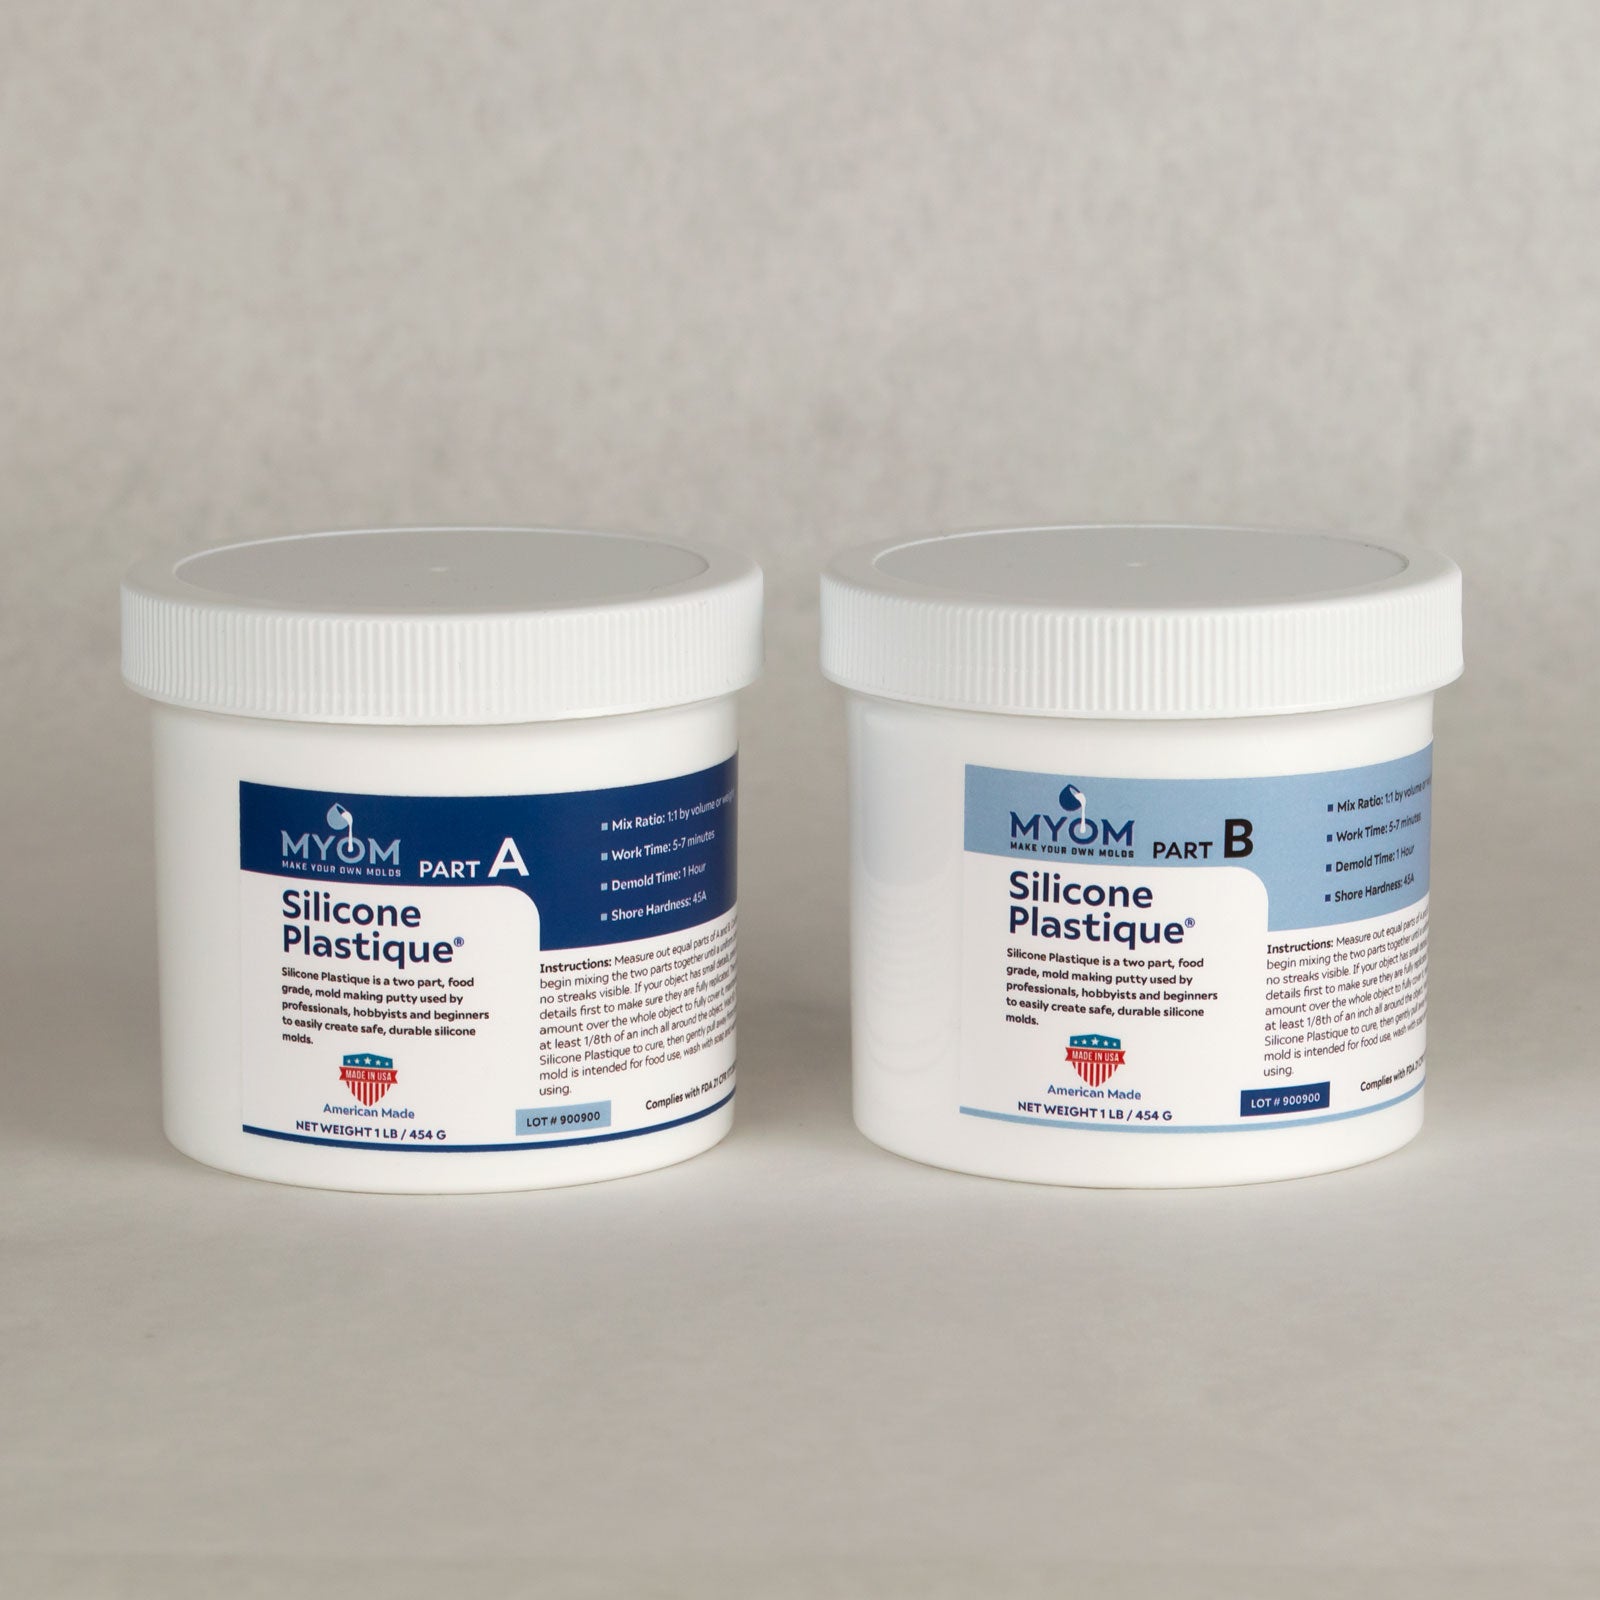
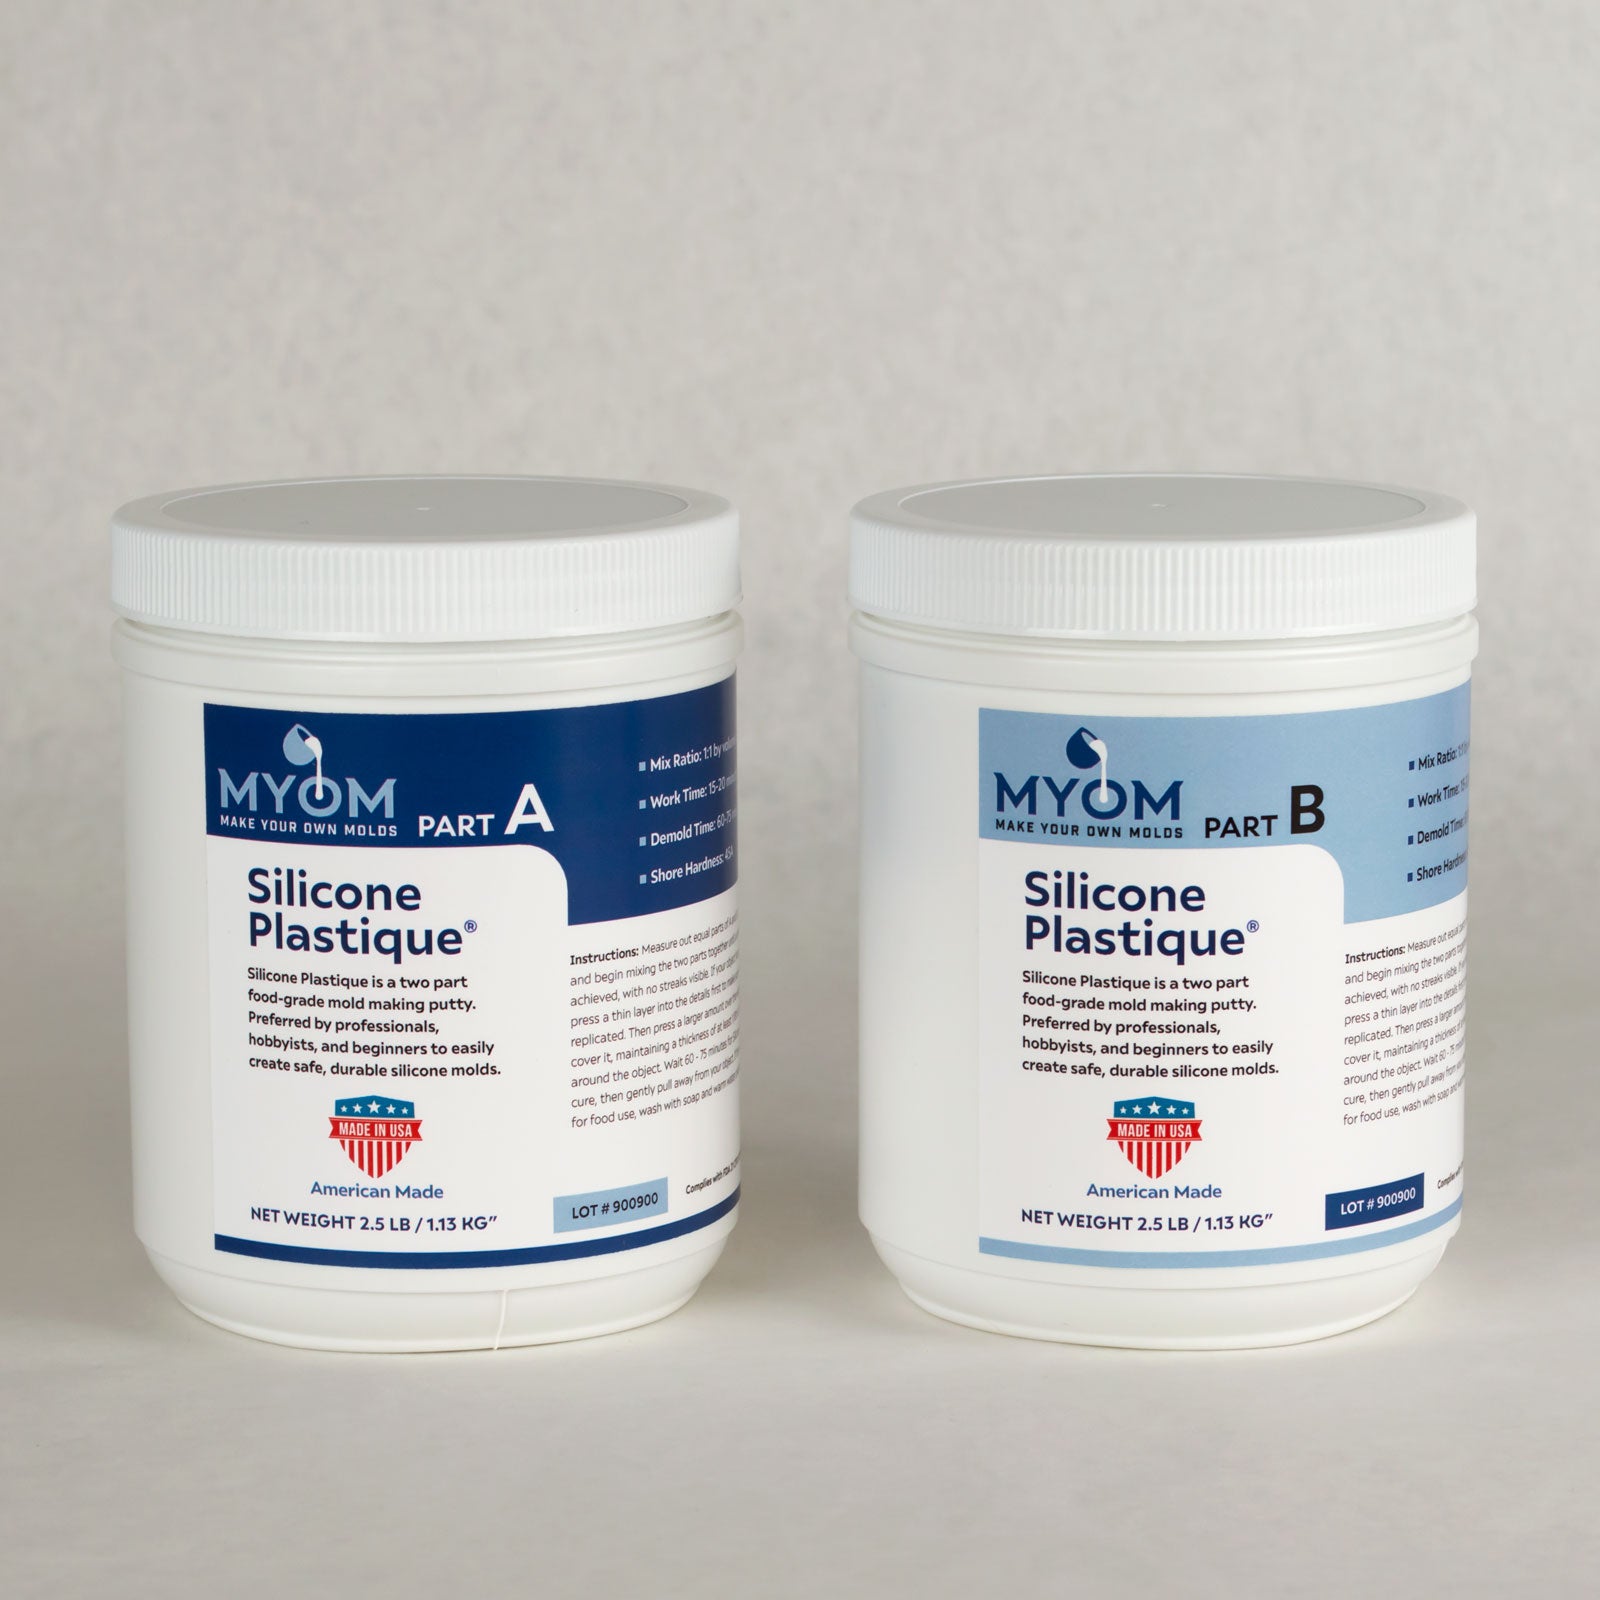
A multi-cavity mold, also called a gang mold, refers to a mold that has more than one cavity. This enables a number of castings to be made from a single mold. The instructions below show a very simple method for making a five cavity mold by pressing the models into a plastic food storage container lined with Silicone Plastique®. Tip: Silicone Plastique® has a work time of 15-20 minutes and cures in 60-75 minutes. Because this project is a little more complex in nature, you may need more time to properly make this mold. By refrigerating the Silicone Plastique® before combining, the curing action of the silicone rubber is slowed allowing more time to complete the process.
Step 1
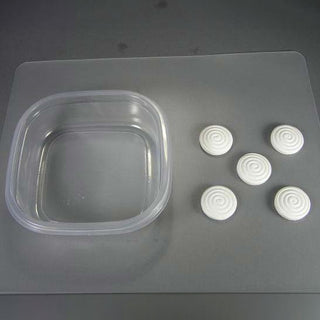
Find a container that is non-porous and large enough to accommodate all the models while leaving a minimum of 1/4 inch of space around each one.
The container should be absolutely clean and have a flat, level bottom. In this step-by-step a food storage container available from any grocery store was used.
Tip: Applying a thin coat of Mold-Dit™ inside the container ensures easy removal of the mold.
Step 2
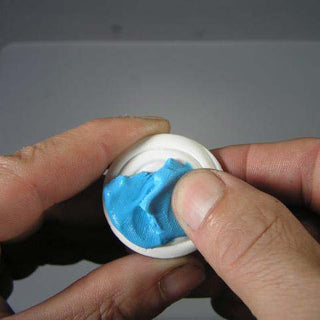
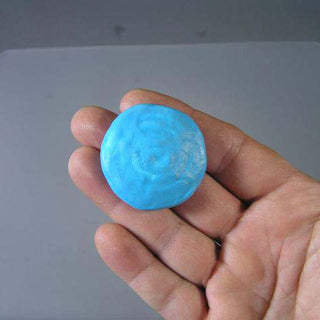
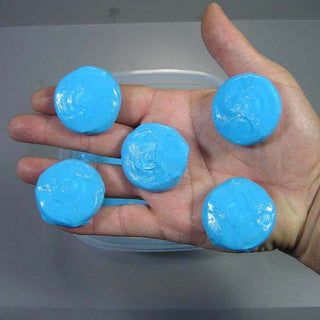
The five medallions used here are made out of plaster which is porous and should be sealed before applying any silicone rubber. Use Mold-Dit™ to effectively seal the plaster for a smooth finished mold cavity. In order to prevent air entrapment and duplicate the finest details, apply a skim coat working a small amount of Silicone Plastique® into the indentations on the surface of all five medallions.
Tip: Only mix enough Silicone Plastique® to skim coat the medallions. It is recommended that you do not mix the entire amount of Silicone Plastique® required for the whole job and instead mix in batches. This ensures that you are always working with product that has the best consistency for good application.

Step 3
When making a silicone mold, make sure that there is at least ¼ inch of silicone on all sides of a model. When making a mold by pressing the model into a bed of Silicone Plastique®, be sure the bed is thick enough to allow for the insertion of the model with ¼ inch to spare. These medallions are ¼ of an inch thick. Therefore, the Silicone Plastique® layer on the bottom is ½ inch thick ensuring a proper bottom once the medallions are placed.
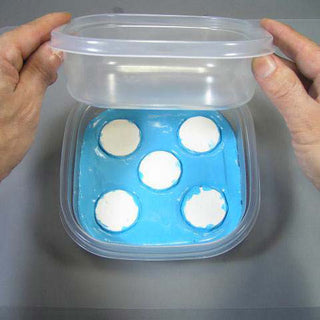
Step 4
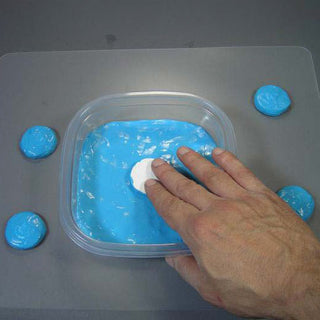
The ½ inch layer of Silicone Plastique® should be level and even on the bottom of the container. Place each model coated side down, onto the layer of Silicone Plastique® making sure they are evenly spaced from each other. It is not necessary to press each model into the Silicone Plastique®. It is better to press all the models into the Silicone Plastique® at one time which is covered in the next step.
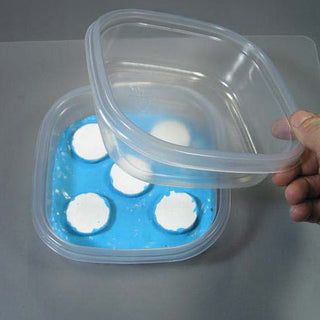
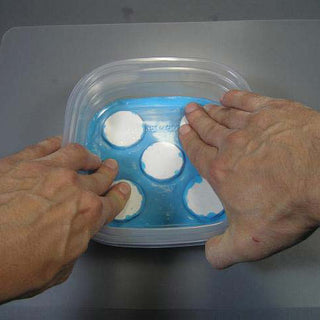
Step 5
By pressing all the models into the Silicone Plastique® at once, the bed of rubber stays level as it is displaced by the models entering at the same time. To accomplish this, use another food storage container of the same size, place it on top of all five models and apply a steady downward pressure.
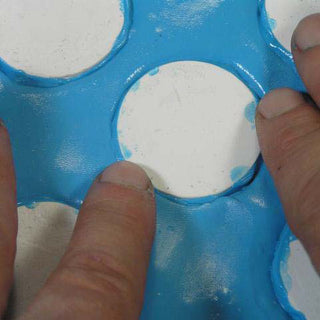
Step 6
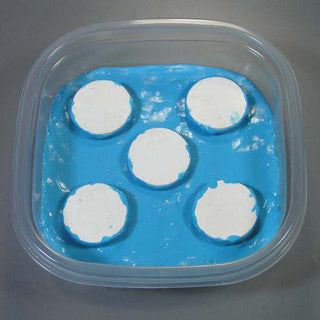
Silicone Plastique® has the consistency of clay and therefore in this situation, it will not hug around the models like a liquid. Even though the models were pressed down flush with the surface, you should manually press the silicone rubber material around the perimeter of each model to achieve full and level contact.

Step 7
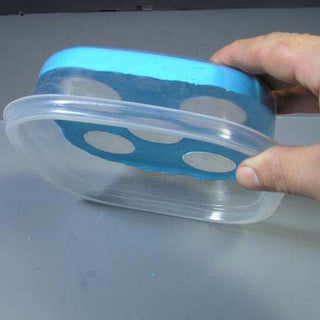
Silicone Plastique® usually cures in 60-75 minutes. Since parts A and B were refrigerated before combining, this mold took about 90-120 minutes. Test for cure by pressing the edge of a spoon into the rubber. If it springs back with out an indentation that is a good sign that the Silicone Plastique® has cured. At this point you can turn your mold container upside down and remove your mold.
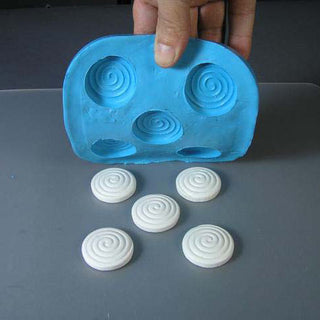
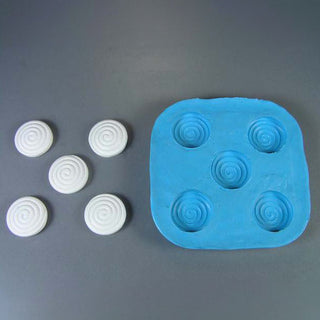
Step 8
To remove the models from your new mold, simply give it a flex to pop them out. Afterward, wash your mold in hot soapy water, and your five cavity silicone gang mold will be ready for use. It is a tough permanent mold with terrific self-release properties and great flexibility that can be used for food and non-food applications.