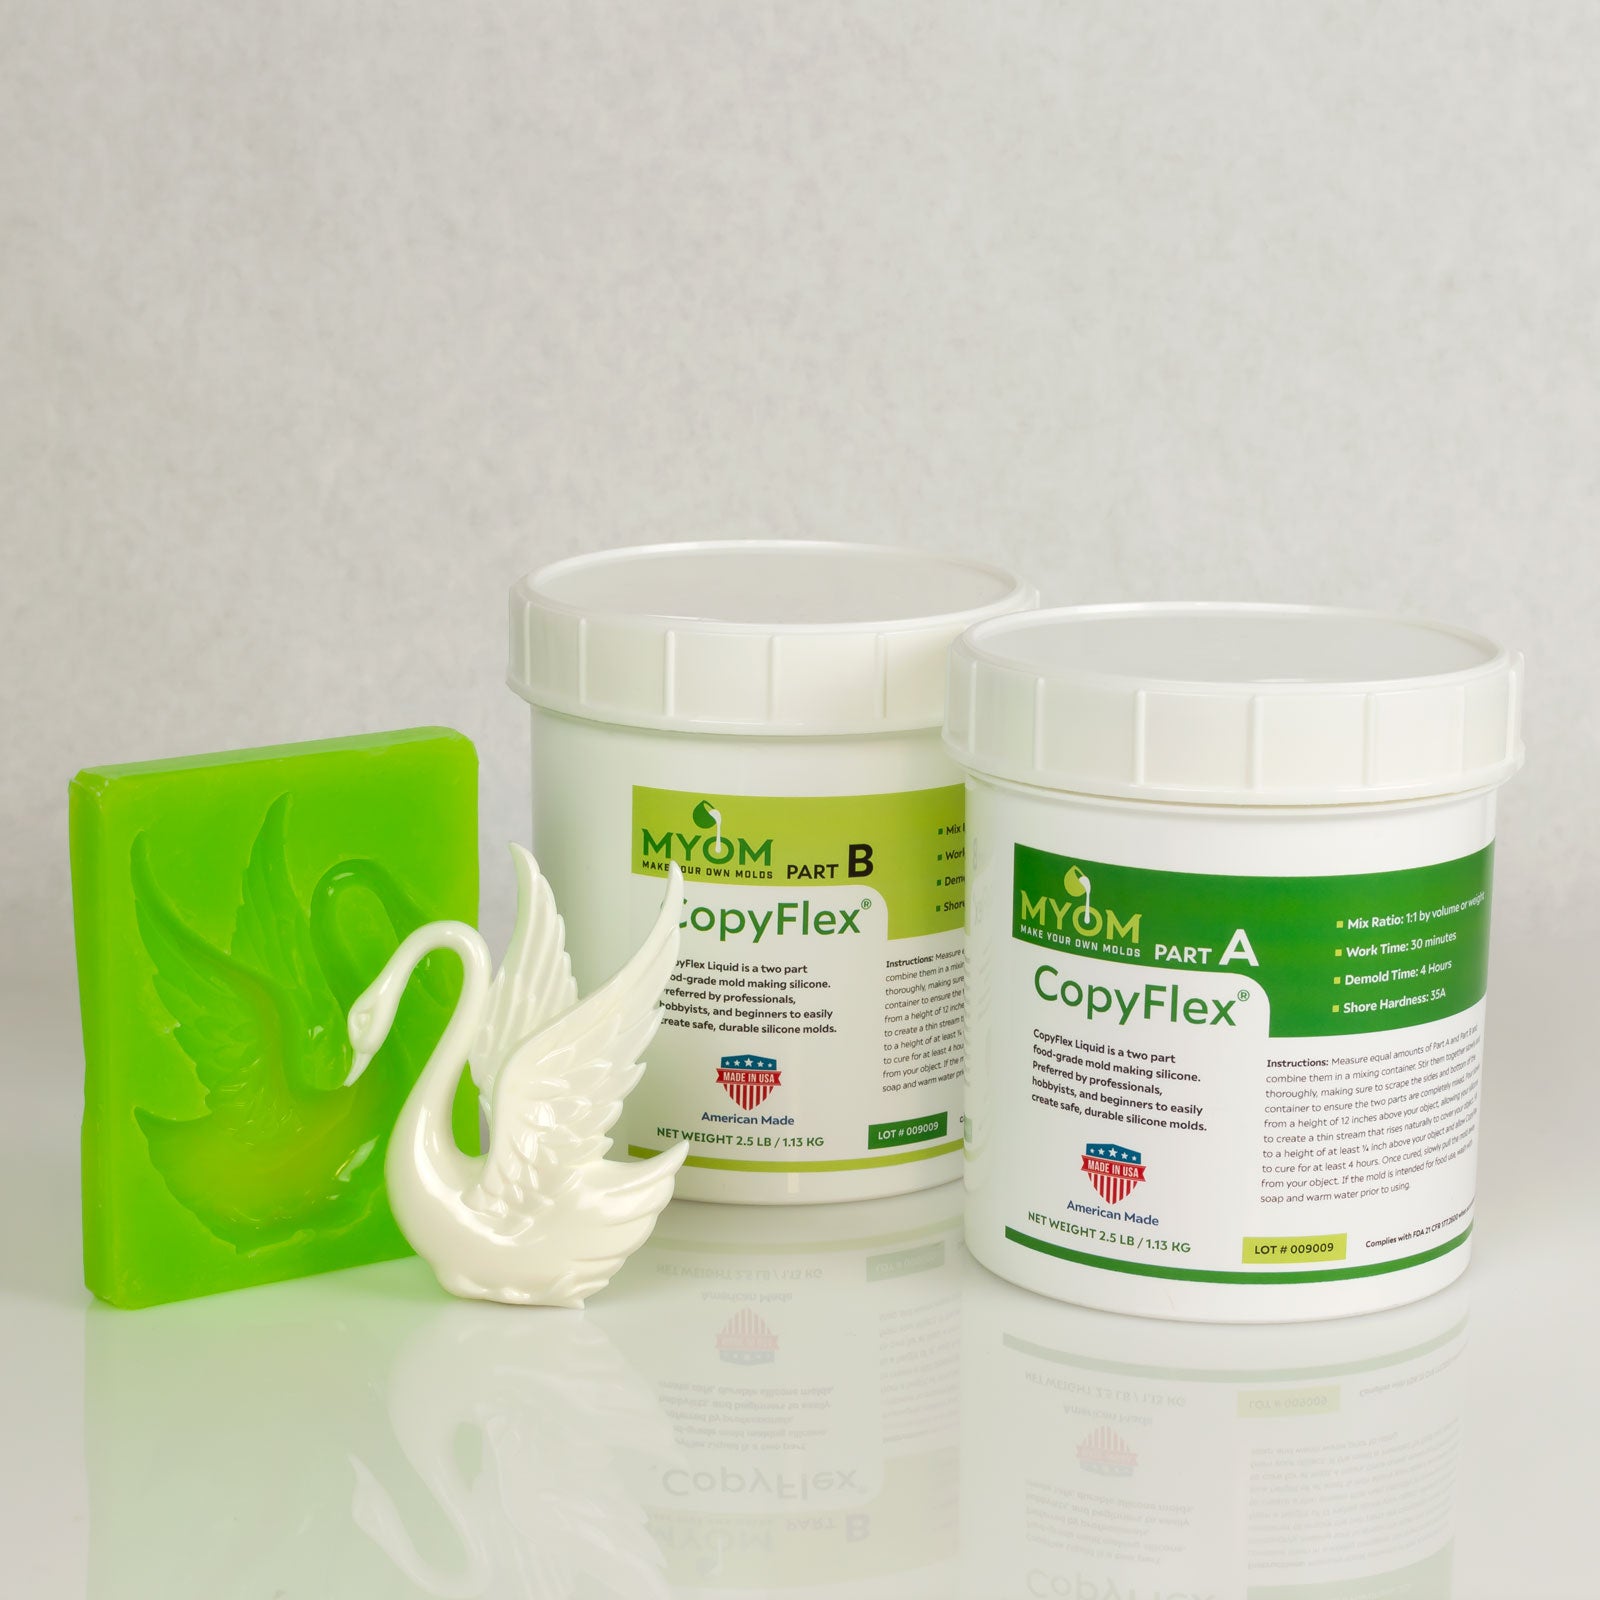
How to Make a Single Cavity Mold with CopyFlex®
There are many advantages when making a mold with liquid silicone. In this mold making tutorial, a decorative refrigerator magnet is used to make a single cavity mold which can be used to reproduce the design in many food and non-food mediums. A poured mold is square shouldered and sits level when in use. Once the basics are understood, you will find that this can be a very quick and efficient method for producing molds in quantity. Take advantage of this free resource and learn the basic principles of using a liquid silicone to create this professional looking and durable single cavity mold.
*Please note that this tutorial was originally made using an earlier version of our CopyFlex® material. The instructions are accurate, but any CopyFlex® you order will be our new, improved clear green formula, not the opaque orange you see in these photos.
Step 1
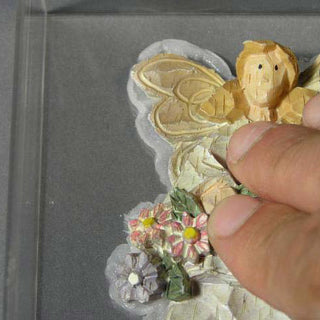
Apply Mold-Dit™ to the back side of the original and press it down into the center of the mold box. Mold-Dit™ should squeeze out along the bottom, ensuring that a strong - yet temporary - bond has been established and that no silicone will creep underneath. With the excess Mold-Dit™ removed, the mold box is ready to receive the CopyFlex™ liquid.
Step 2
Mix a small amount of CopyFlex™ liquid silicone rubber. You need just enough to paint a thin coat over the object, ensuring that air bubbles are not trapped on the surface.
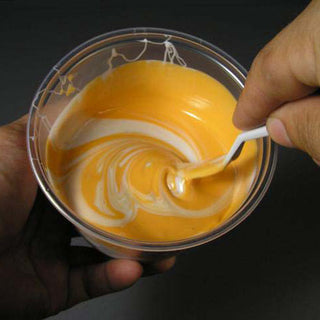
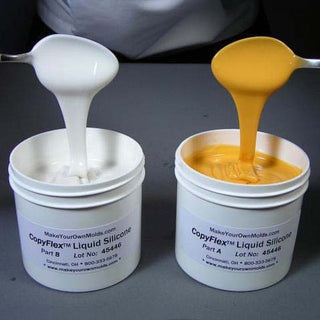
Step 3
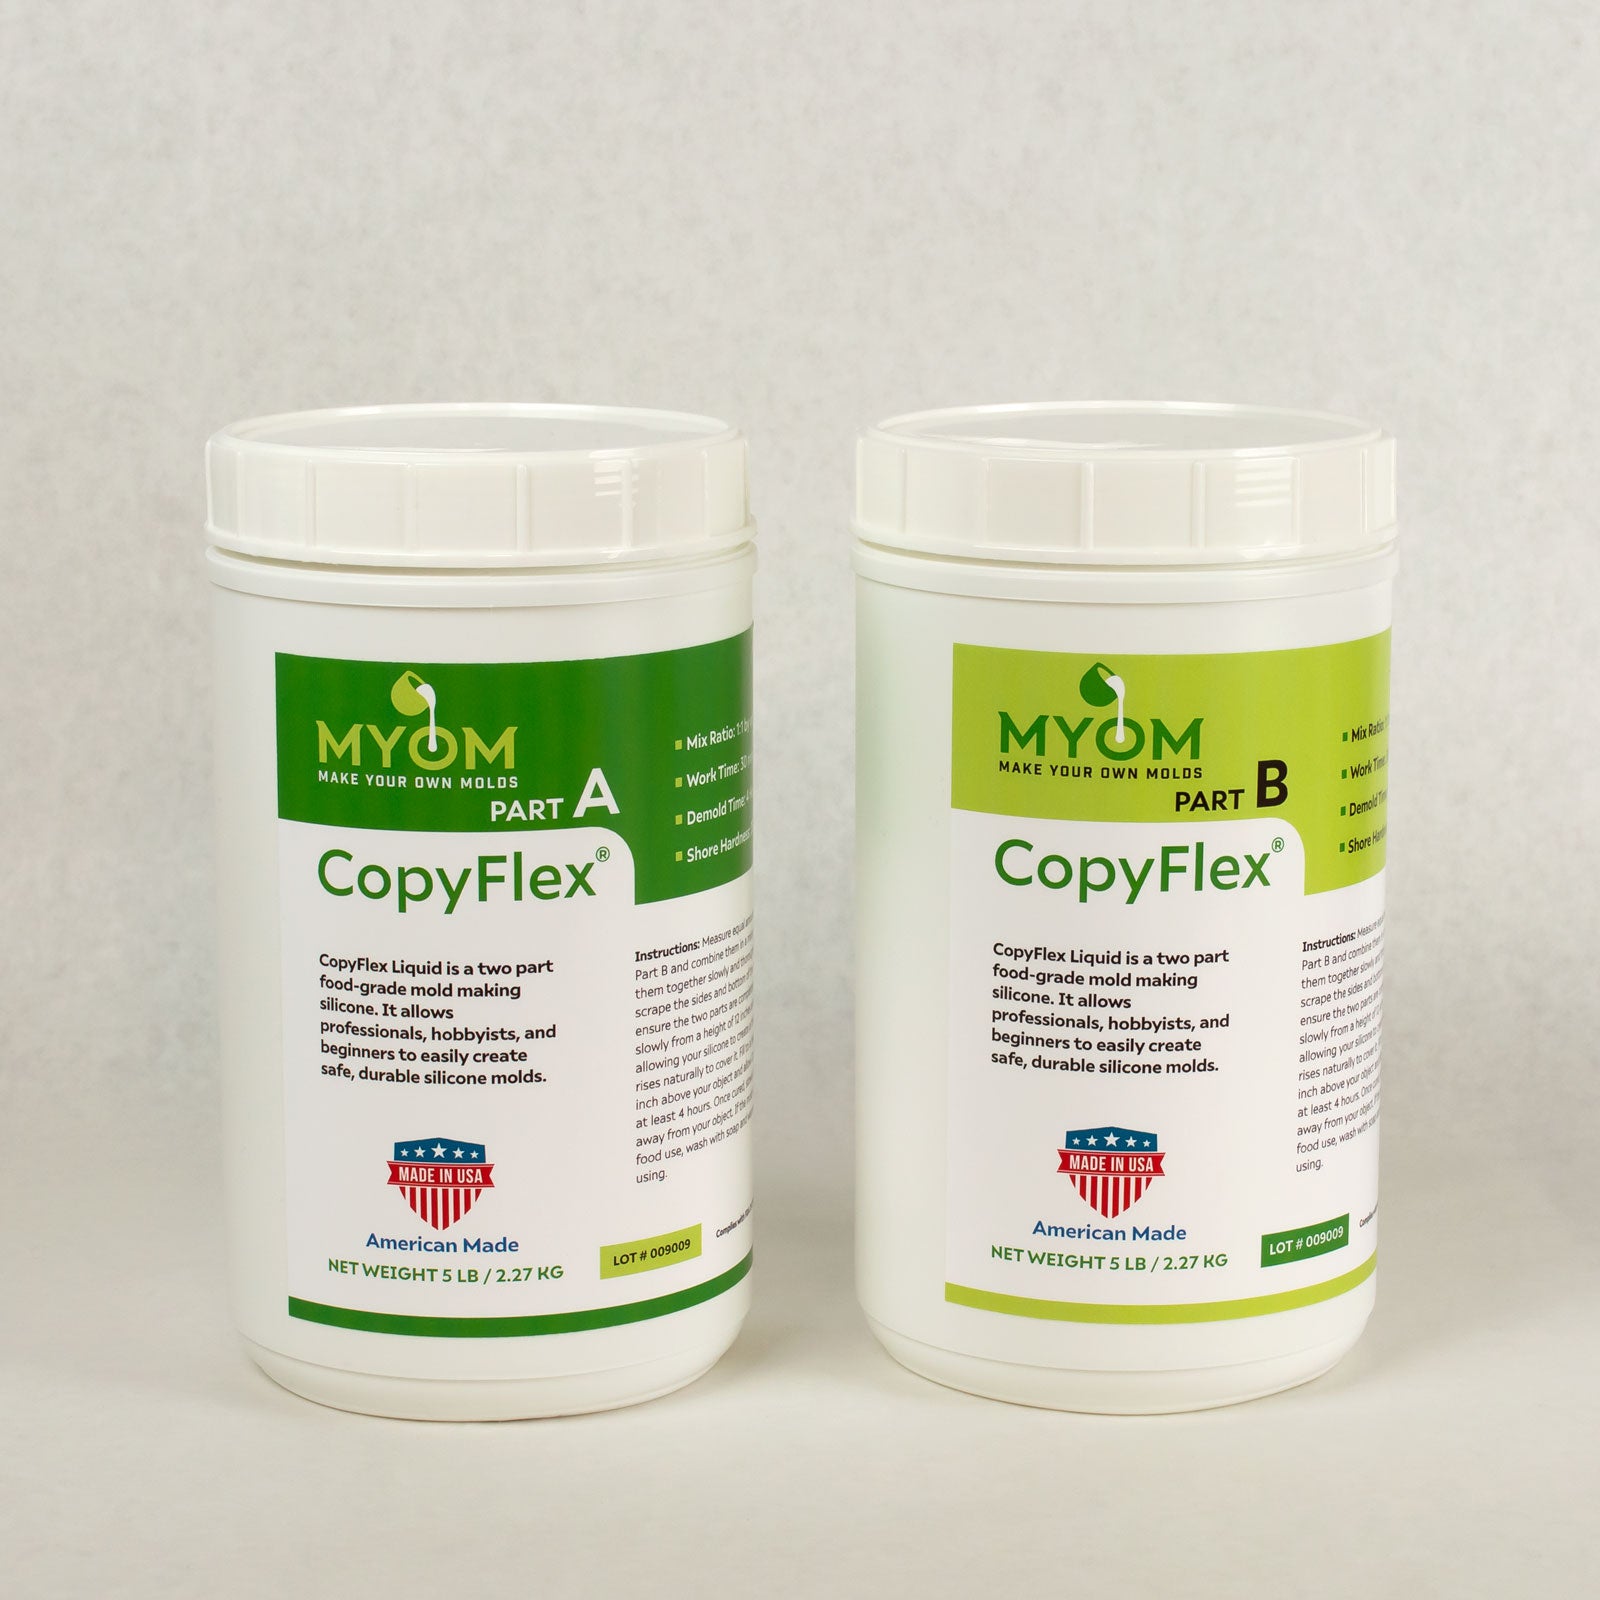
Scale out equal parts of A and B by weight, combine the two parts in a container, and mix thoroughly until the color is uniform. Make sure unmixed material does not remain on the sides or bottom.
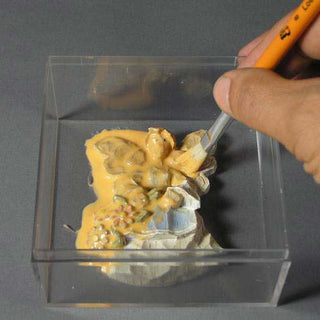
Step 4
Using a clean artist brush, paint a thin coat of CopyFlex™ onto the original. The idea here is not to cover the object, it is simply to brush the moldmaking silicone into the details. We call this a “skim coat”, and it ensures that no air bubbles will be trapped in the nooks and crannies of the surface.
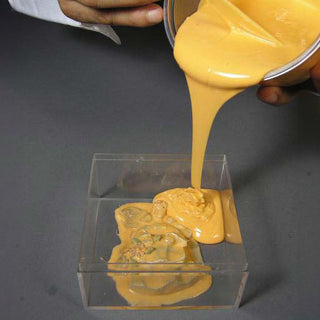
Step 5
Once the skim coat is applied, a larger batch of CopyFlex™ silicone rubber is prepared and poured to fill the mold box at least 1/4″ above the highest point on the original.
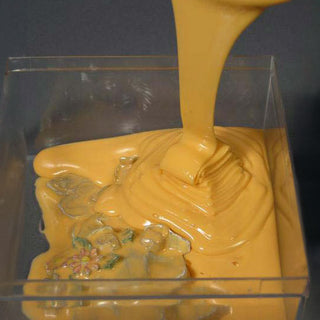
Step 6
CopyFlex™ should be poured in one spot from a height of about 12″ which allows the material to stretch as it falls. We call this a “stretch pour” and it helps eliminate air that was incorporated into the liquid silicone during mixing.
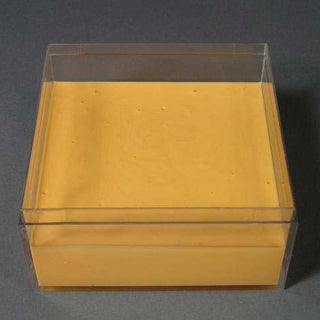
Step 7
Allow CopyFlex™ to slowly creep over the original until it is covered completely.
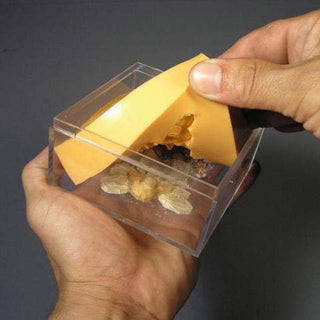
Step 8
CopyFlex™ can be demolded in about five hours. A quick way to check if your mold is ready to demold is to press a coin’s edge into the surface to see if it leaves an imprint. The CopyFlex™ mold should spring right back without leaving an imprint.