How to Make a 3D Mold with CopyFlex®
Knowing how to make a 3D mold is essential when faced with the challenge of duplicating sculpture and other objects where capturing all sides of an object is important. This mold making tutorial conveys in explicit detail how the process of making a 3D mold is accomplished and is delivered in a pictorial, step by step approach. Take advantage of this free resource by learning how to make a 3D mold which will become a valuable addition to your personal skill set.
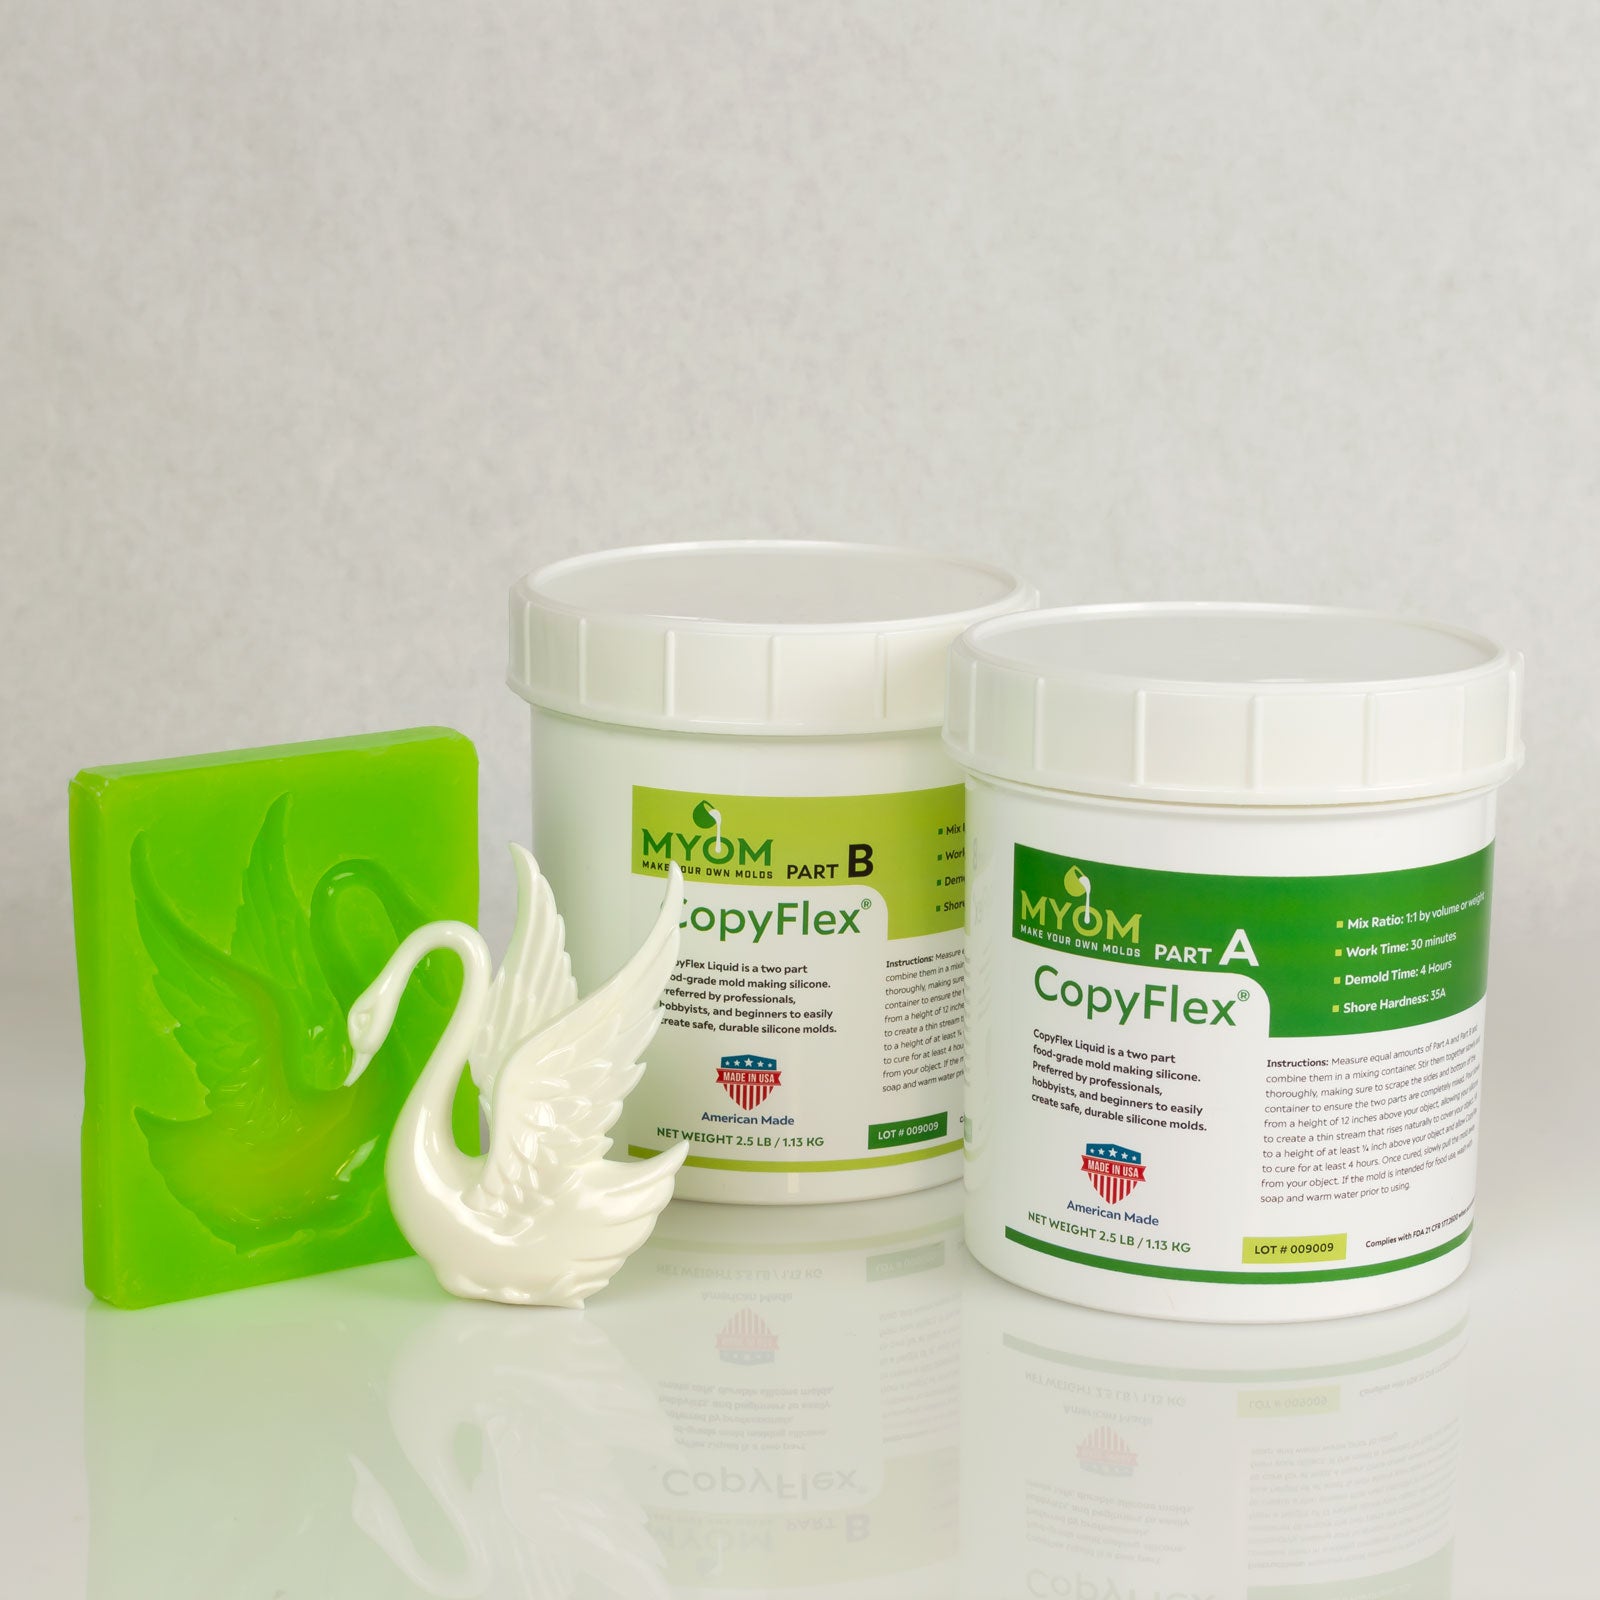
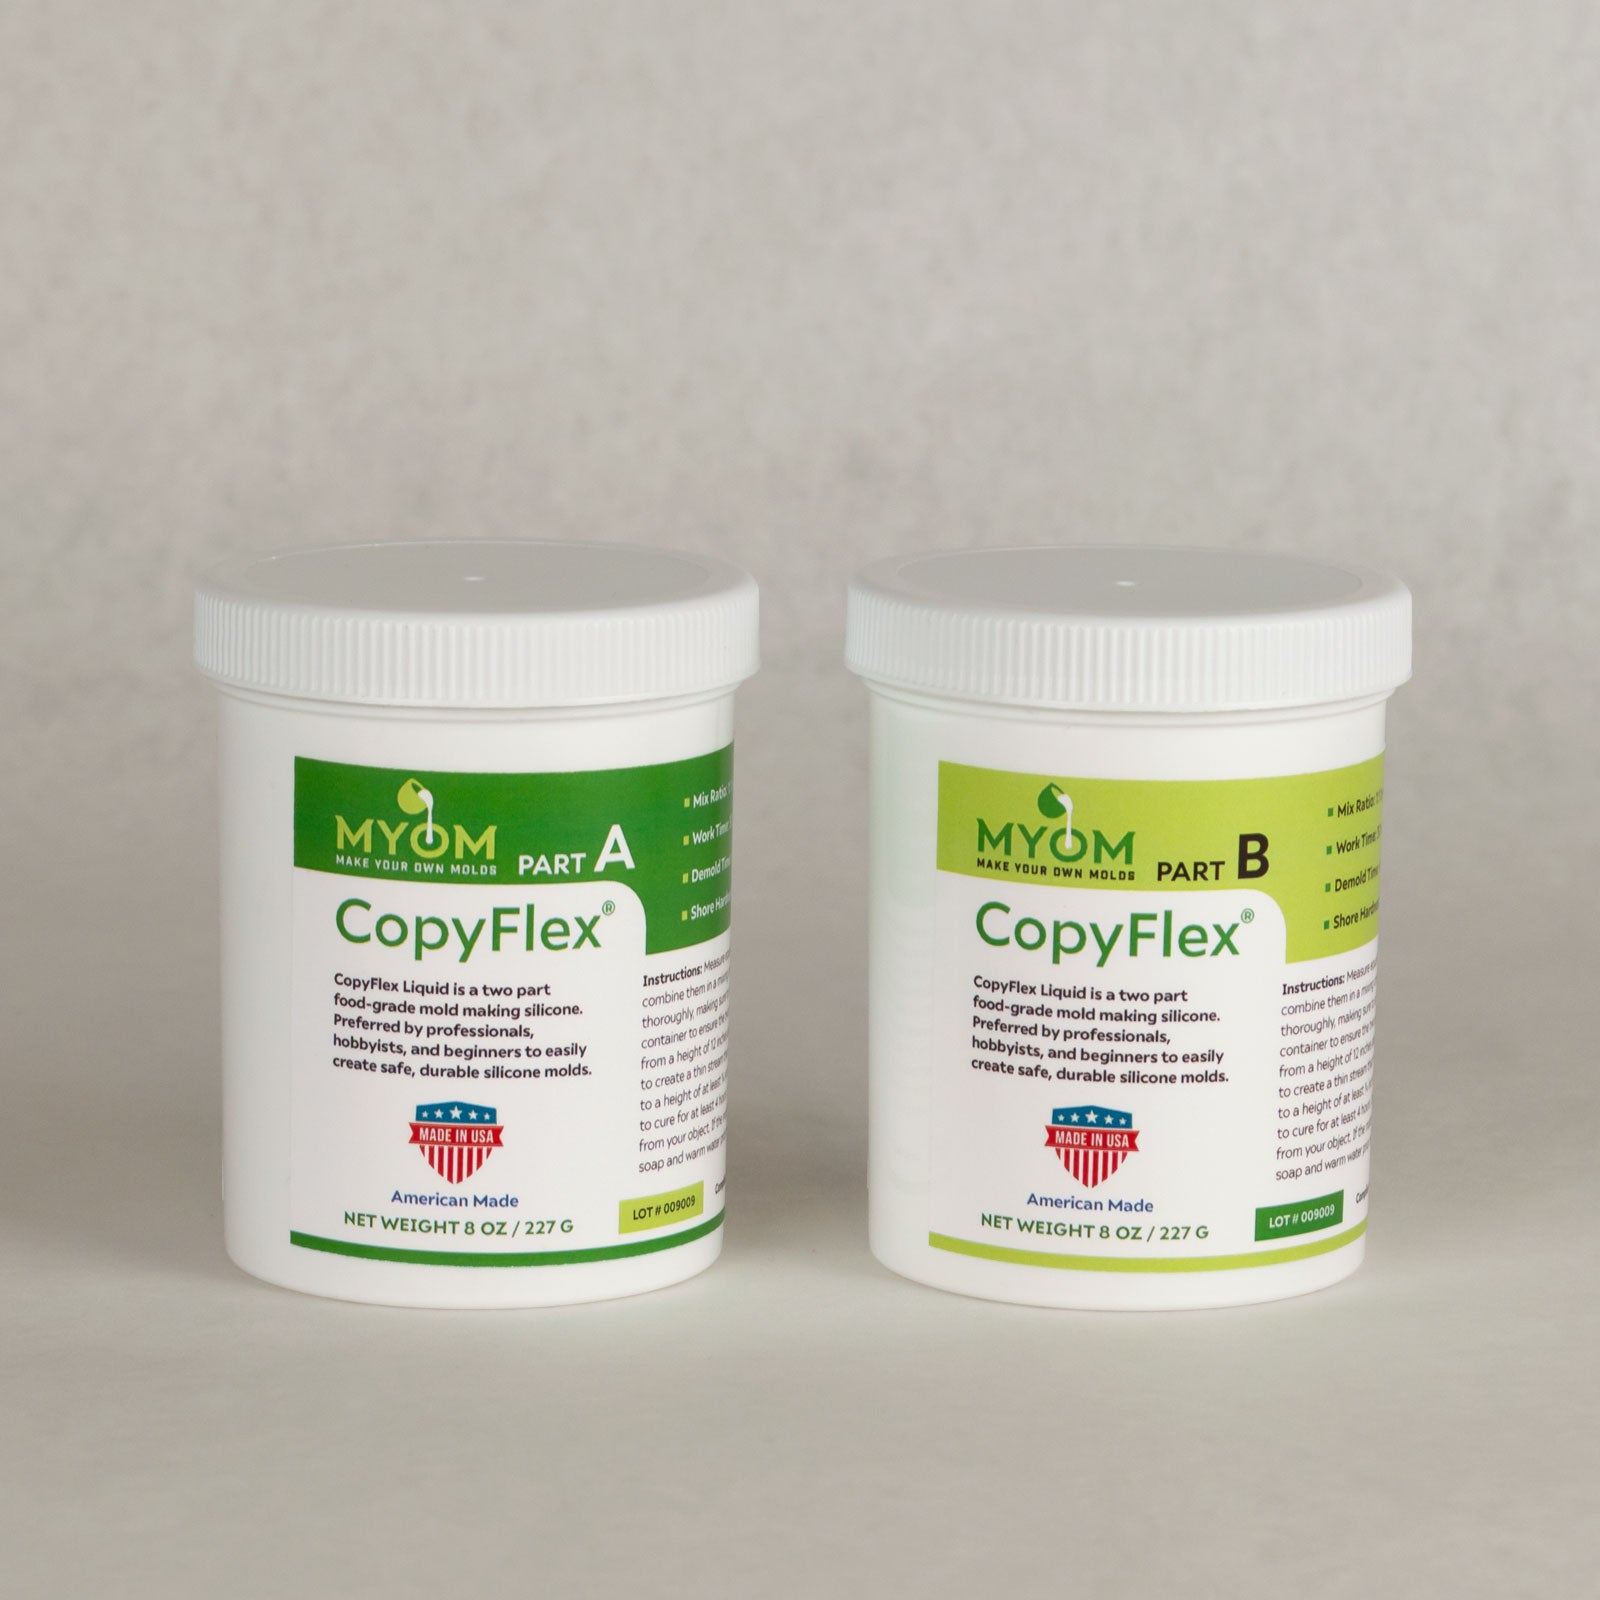
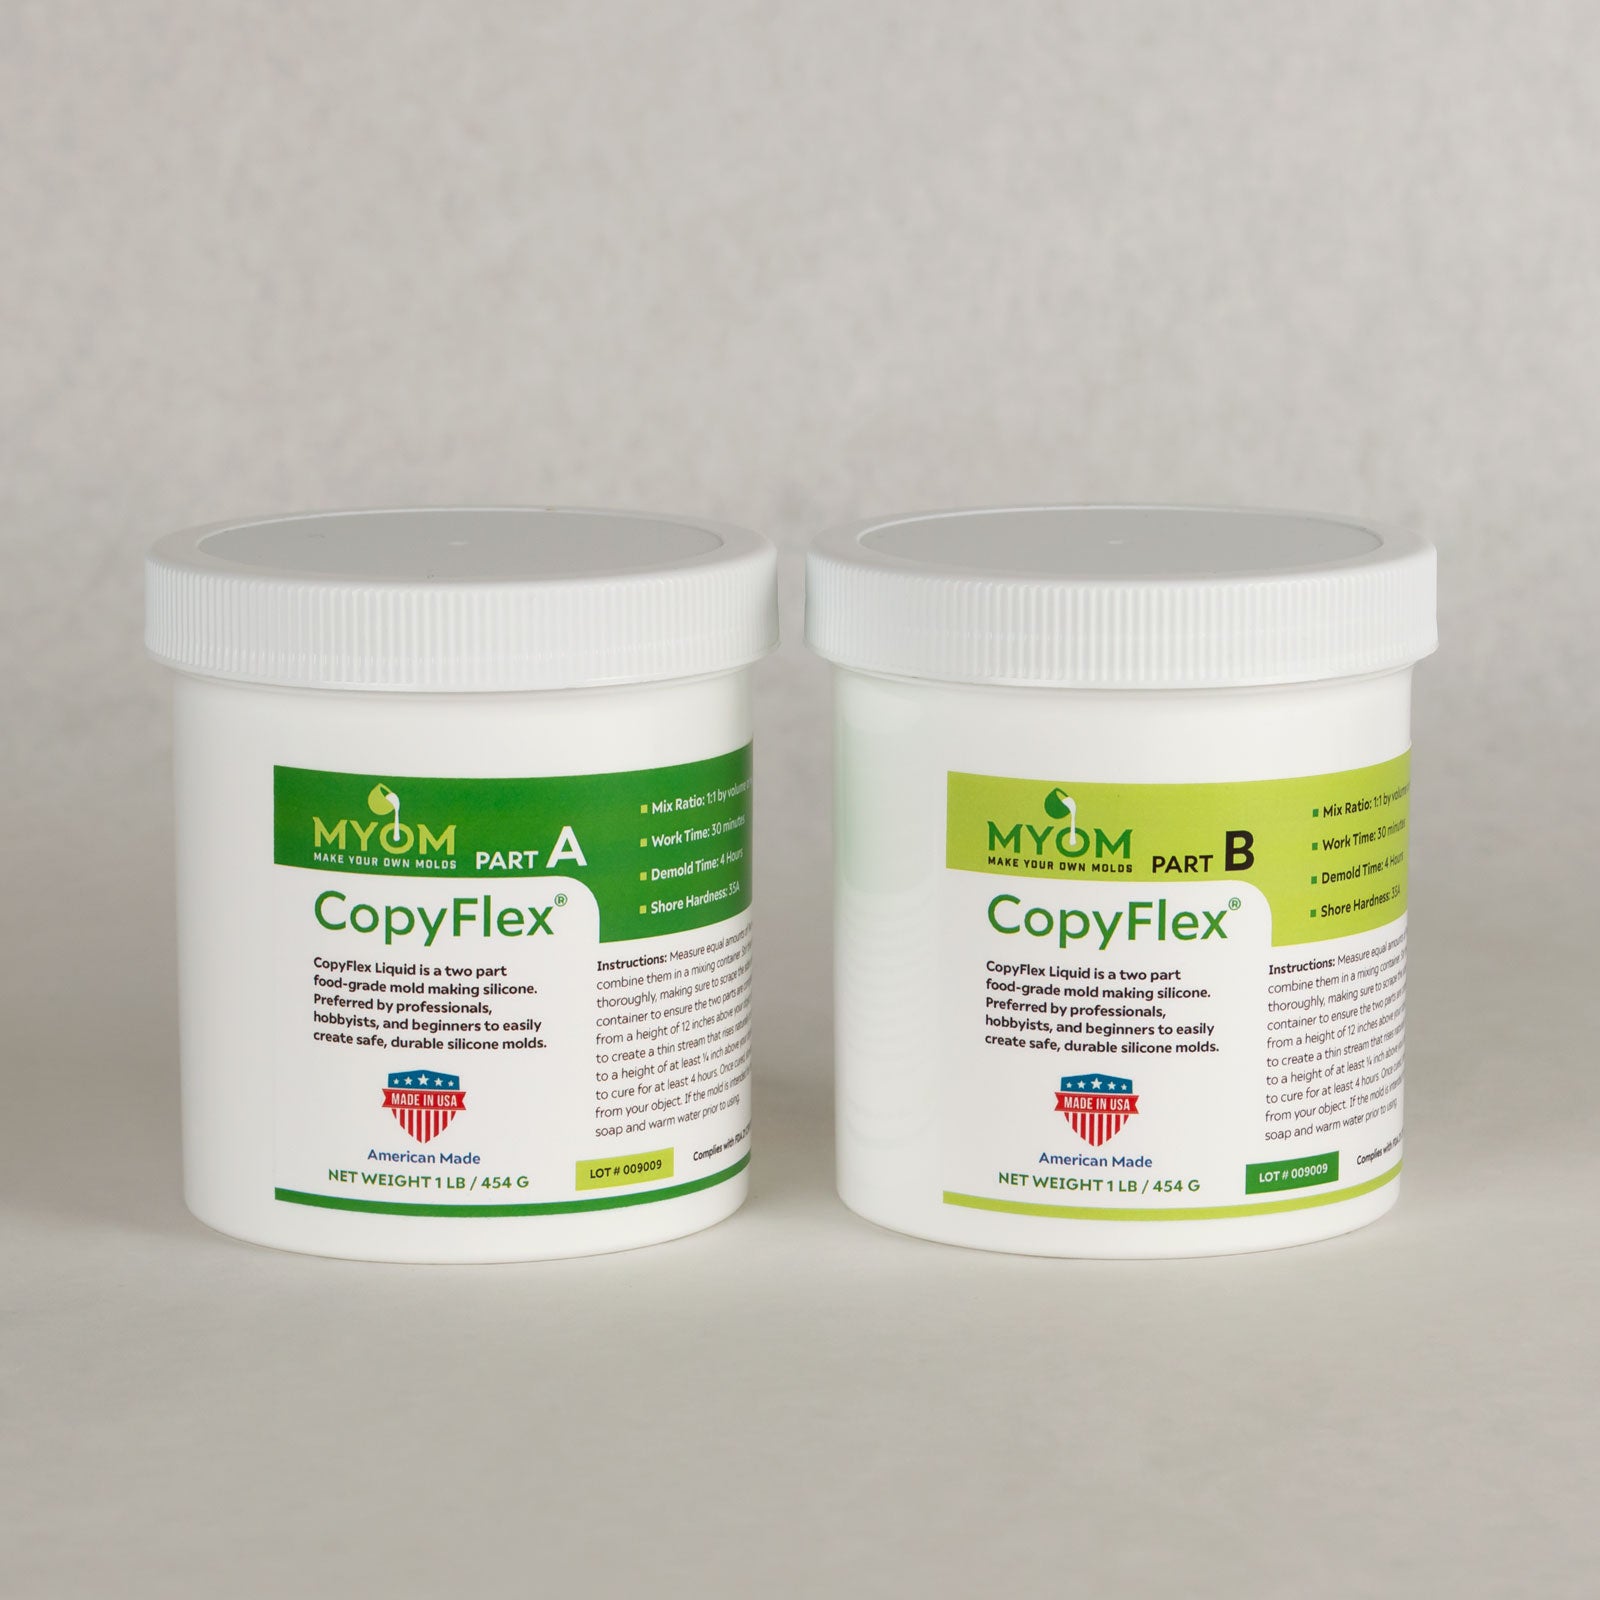
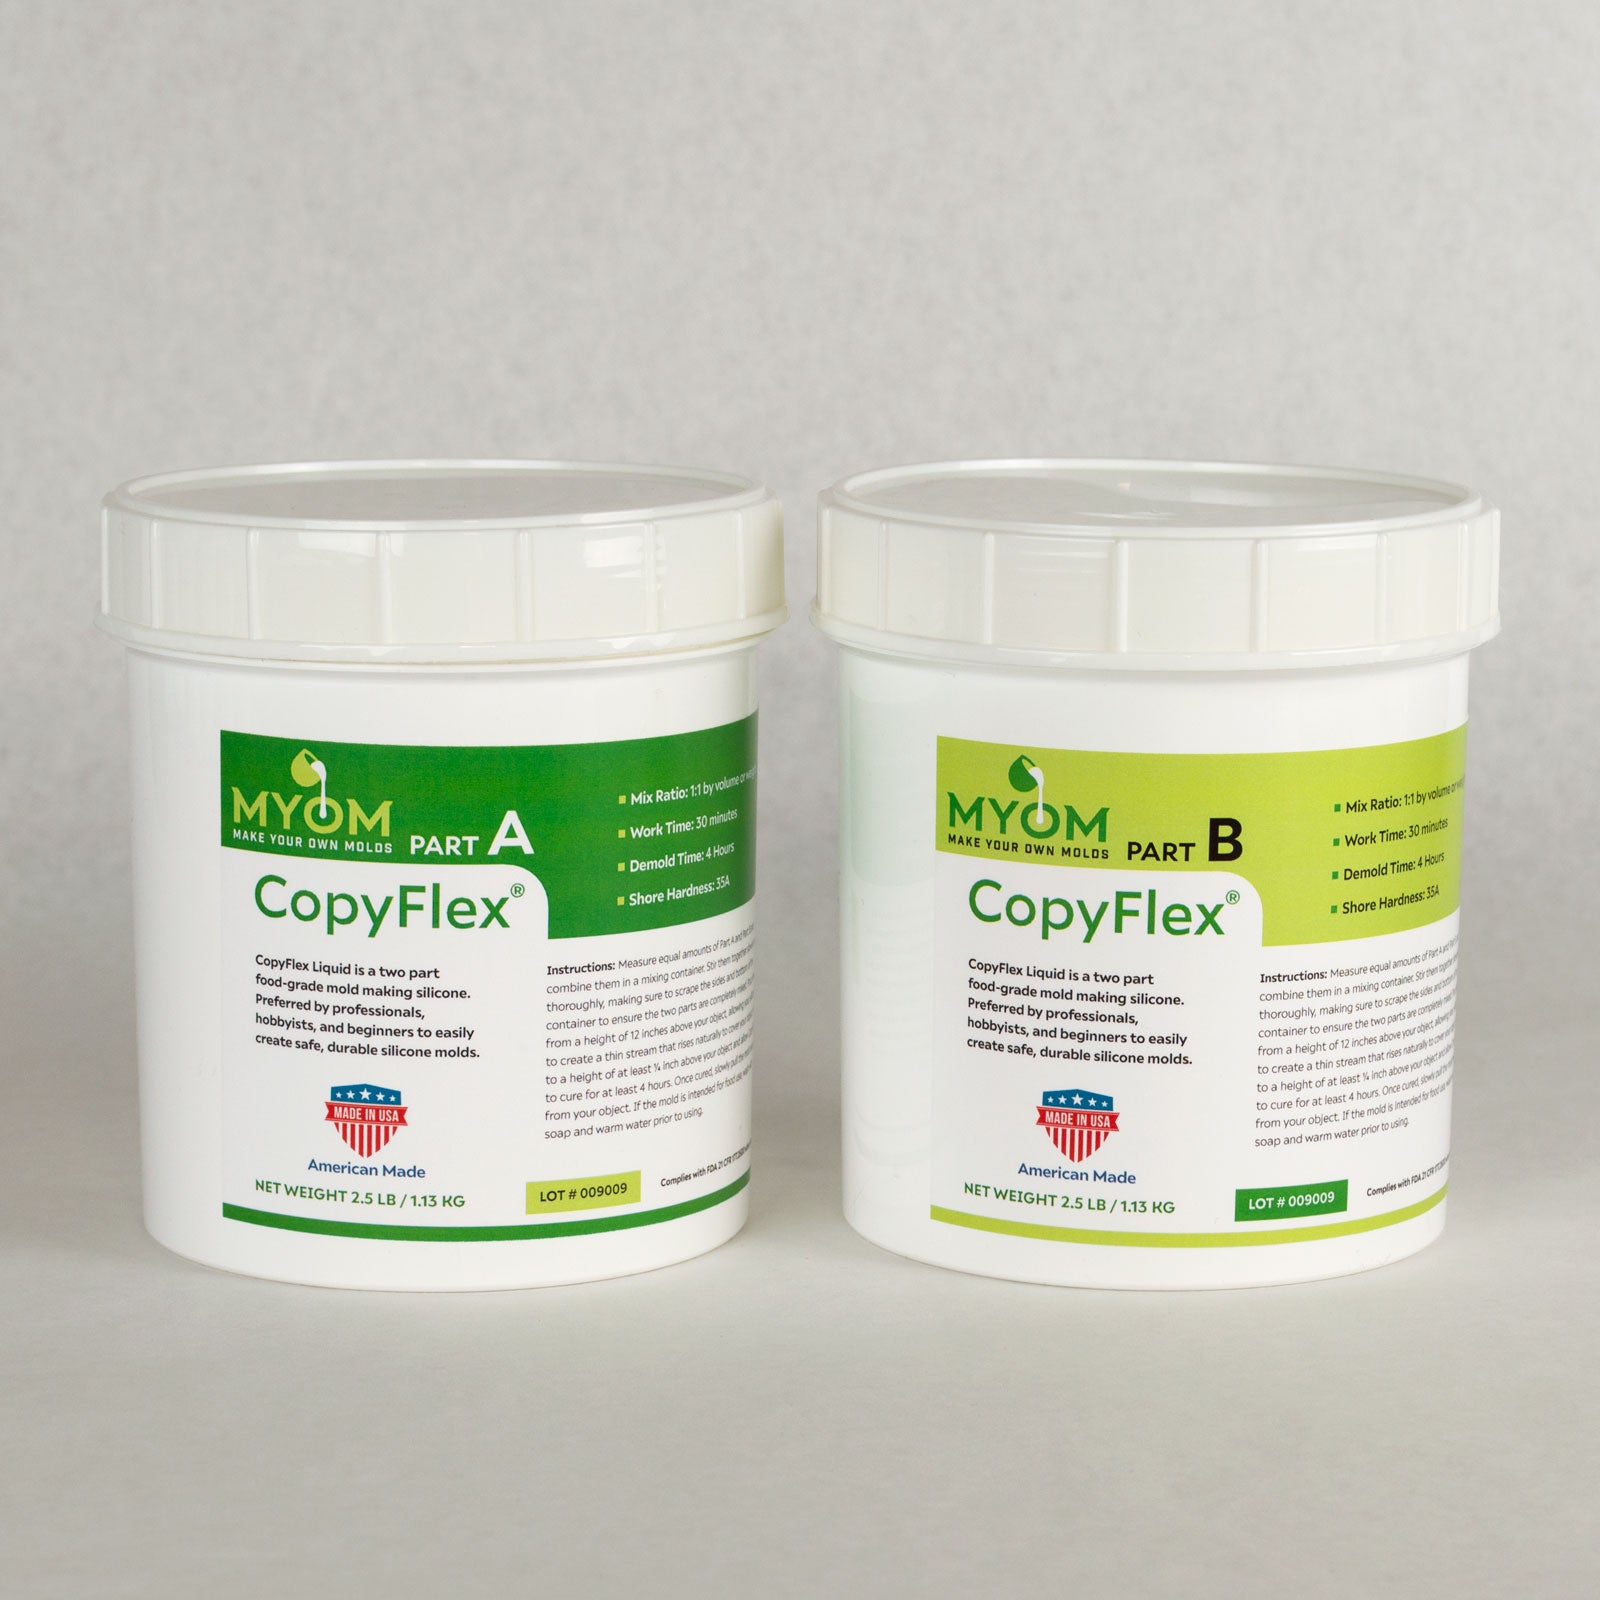
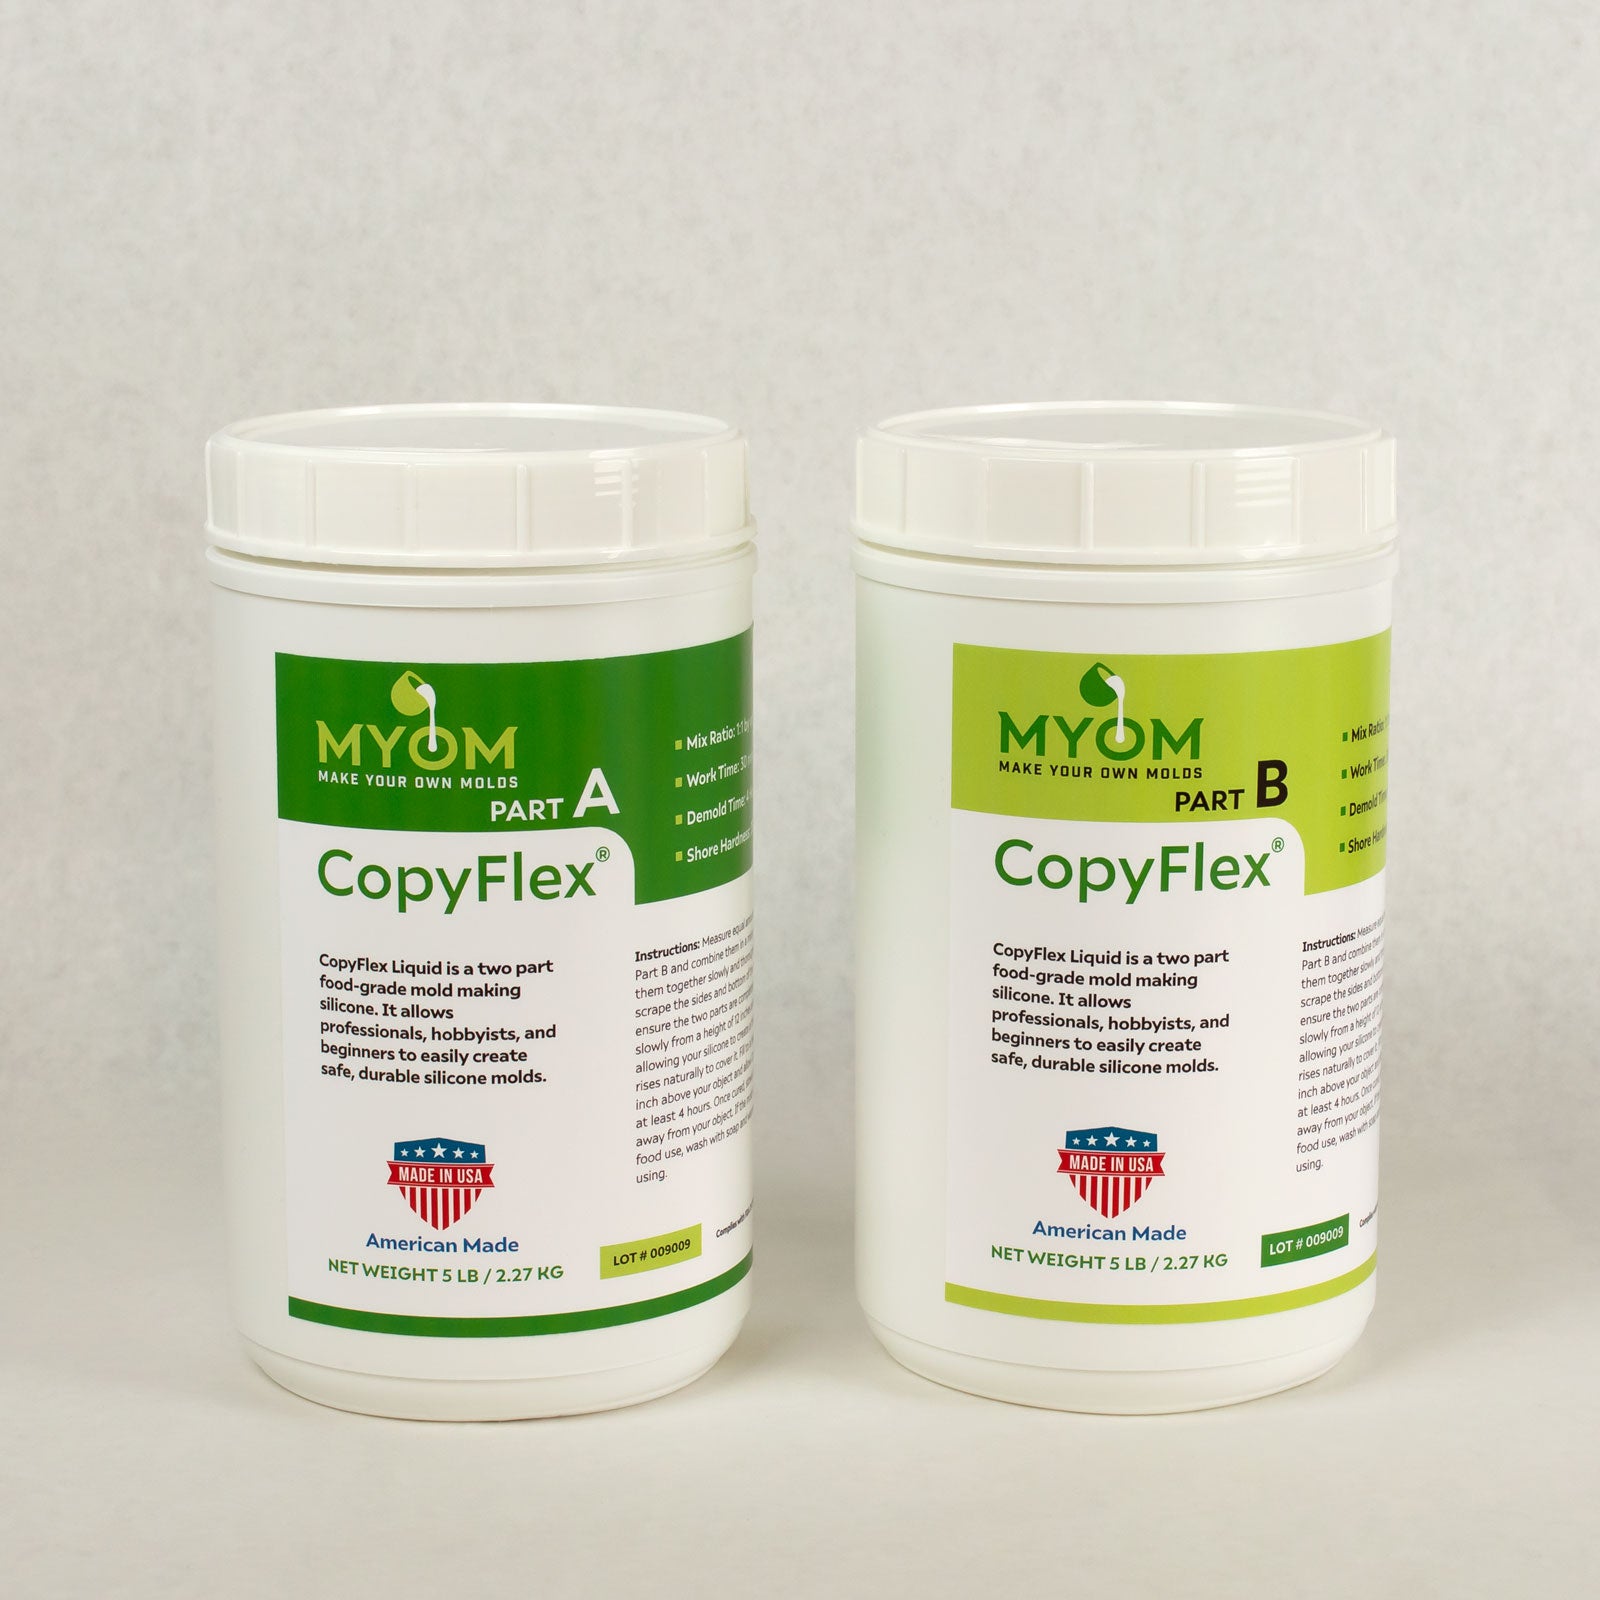
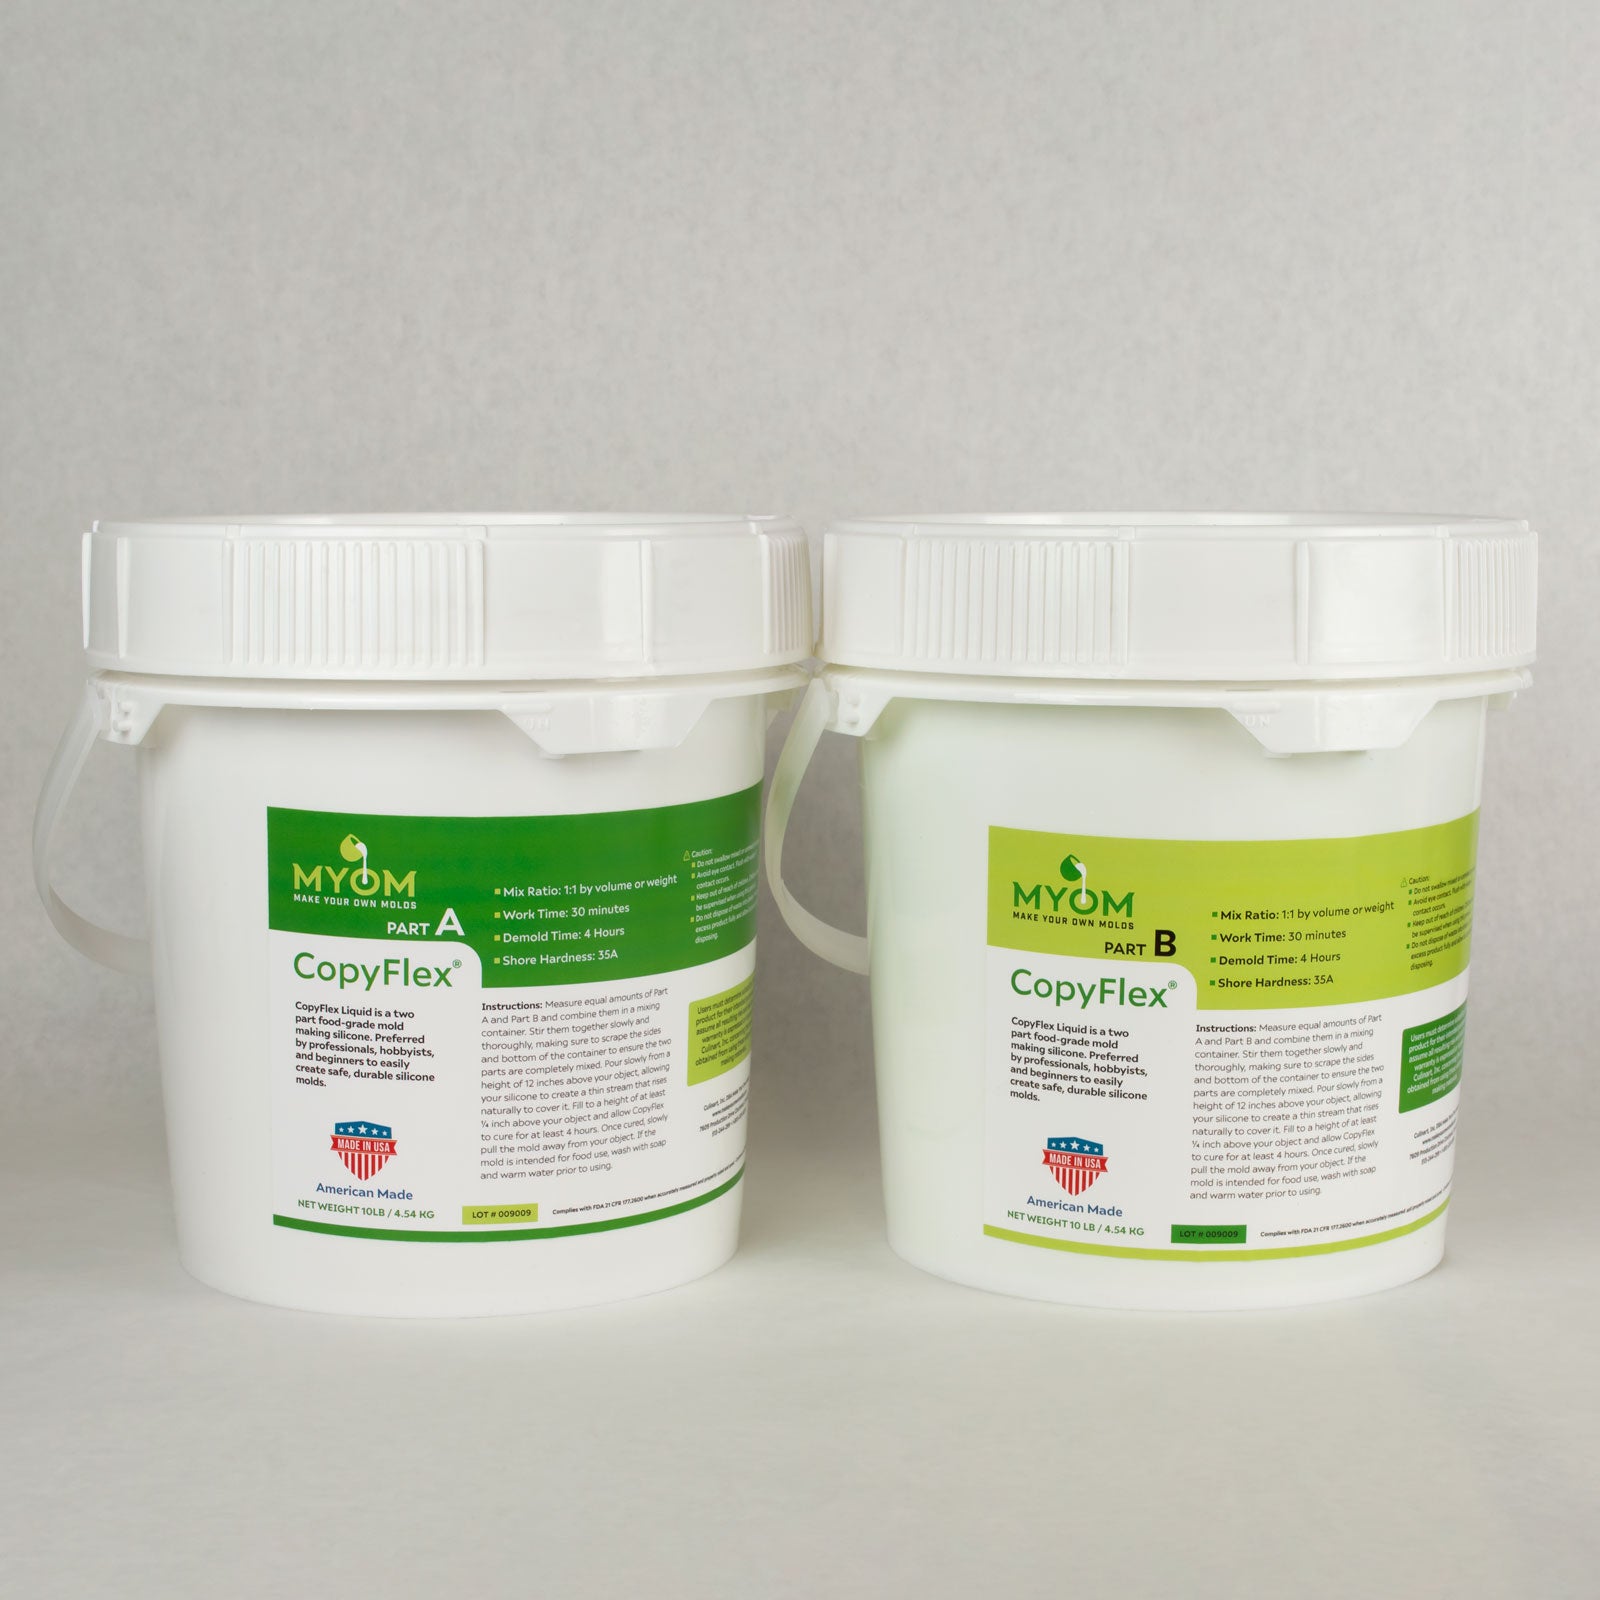
*Please note that this tutorial was originally made using an earlier version of our CopyFlex® material. The instructions are accurate, but any CopyFlex® you order will be our new, improved clear green formula, not the opaque orange you see in these photos.
Step 1
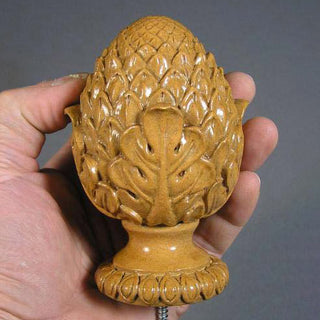
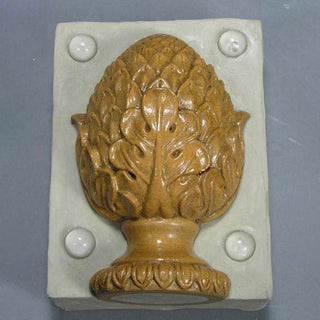
The model chosen for this project is a finial with a recessed bottom which is filled flush with Safe-D-Clay™ to prevent CopyFlex® Liquid Silicone from finding its way into this recess. As will be seen later, the bottom of the finial will become the pour hole or “gateway” into the mold cavity which we want to remain open and unobstructed by silicone seepage into the recess.
Step 2
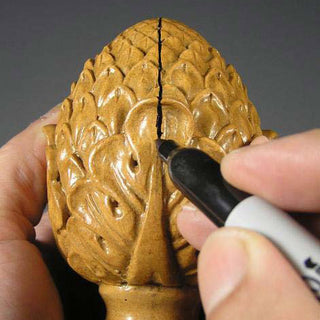
A parting line represents where on a model, the two halves of the mold will separate and come together. The parting line in this example runs directly down the middle of our model. In order to make the first half of a 3D mold, one side of the model is embedded in Safe-D Clay™ to the parting line. This is called a clay bed. Tip: applying a thin coat of Mold-Dit™ to the side being embedded will help the clay release from your model later. The remaining exposed side of the model will be the first to receive Copy-Flex® Liquid Silicone. Notice that the parting line determines the placement of the clay bed which extends outward away from the parting line by at least an inch. This is called a clay flange. Go to How to Make a Clay Bed Tutorial to see excellent step by step instructions which cover how to make a proper clay bed in detail.
Step 3
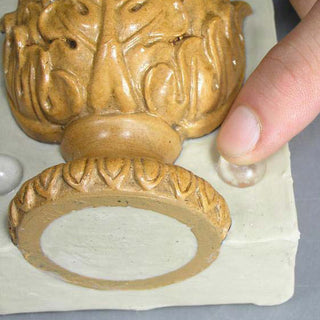
Alignment keys ensure that a mold comes together the way it was intended to. When this mold is finished, the alignment keys ensure that the two mold halves will join together perfectly. To make good alignment keys, they should be incorporated onto the clay flange. For our mold, four alignment keys in the corners of the clay bed are created by embedding ½” marbles.
Step 4
When using Copy-Flex® Liquid Silicone it is necessary to construct a mold box in order to hold the liquid silicone in place during the curing process. A custom sized mold box can be easily created using an Adjust-A-Mold™ Box retaining wall system. Before building the mold box, Mold-Dit™ is applied to all vertical sides of the entire clay bed and the bottom of the model (Click Here for Mold-Dit™ Basics).
Step 5
Place each panel of the Adjust-A-Mold Box™ flush against each side of the clay bed. Use a dry brush to remove any Mold-Dit™ that may be pressed out between panel and clay bed or model. Once the Adjust-A-Mold Box™ is assembled, spring clamps should be used to keep the panels in place and help create a tight seal. Spring clamps were not used in this tutorial so that full visibility could be maintained for teaching purposes.
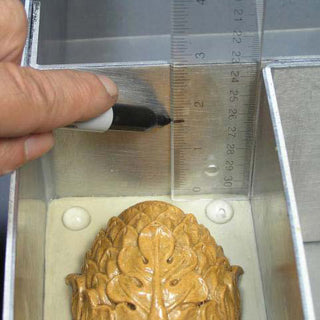
Step 6
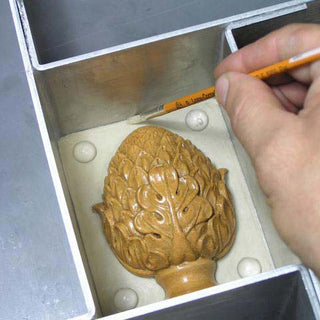
When making a silicone mold, it is recommended that the mold be at least 1/4” – 1/2” thick. The clay bed ensures that the sides of this mold will be of the proper thickness. A mark is made on the inside of the mold box to serve as a guide when the pour has achieved the proper depth over the top of the model. This mark should be ¼” – ½” higher than the highest part of the model.
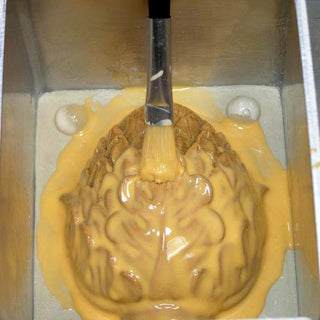
Step 7
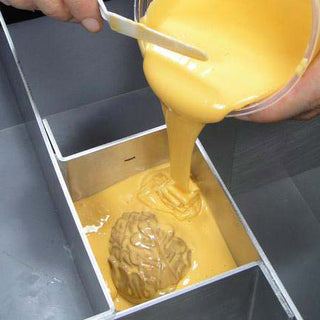
Because Copy-Flex® has a mix ratio of 1:1, it is very easy to mix a small amount of Copy-Flex® which is used to “skim coat” the model in order to chase air out of the details and indentations in the surface (Click Here for Copy-Flex® Liquid Silicone Basics).
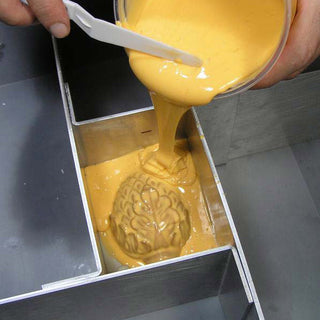
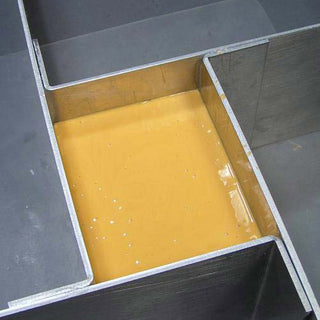
Step 8
Mix and pour Copy-Flex® Liquid Silicone as explained in the Copy-Flex® Liquid Silicone Basics Tutorial. Allow to cure for about 5 hours.
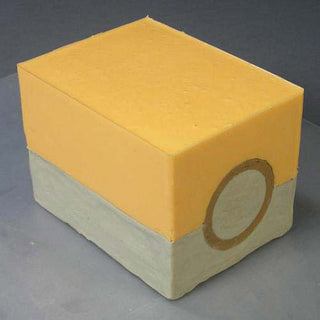
Step 9
Remove Adjust-A-Mold™ panels.

Step 10
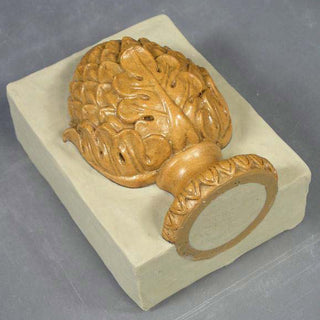
Turn the whole mold assembly over so the clay bed is on the top and the Copy-Flex® side is on the bottom. This gives full access to the clay bed which needs to be removed to expose the second side of the model for mold making. Remove the marbles if they do not come out with the clay, and notice the indentations left in the cured Copy-Flex® side.
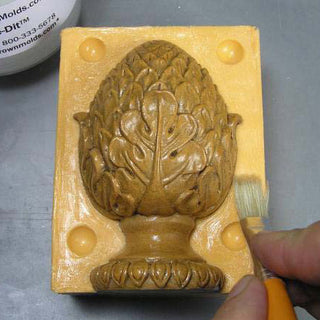
Step 11
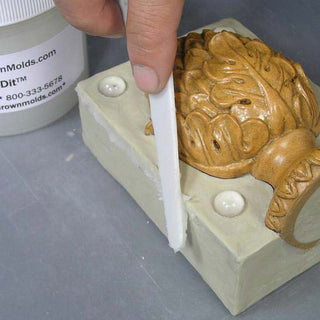
Once the clay bed has been removed along with any remnants of clay on the model, the second side of the model is ready for the application of more Copy-Flex®. Before applying, it is critical to apply Mold-Dit™ on all three sides of the silicone rubber flange surrounding the model. Copy-Flex® Liquid Silicone bonds to itself and the Release-Dit™ acts as an effective parting agent preventing one side from sticking to another.
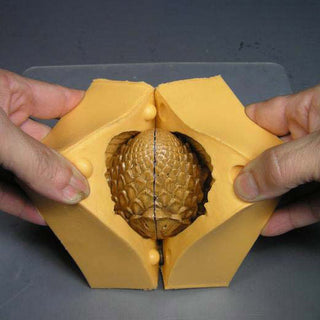
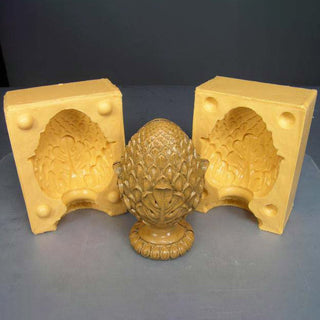
Step 12
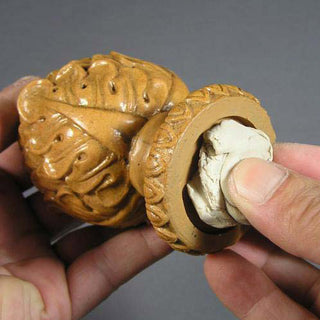
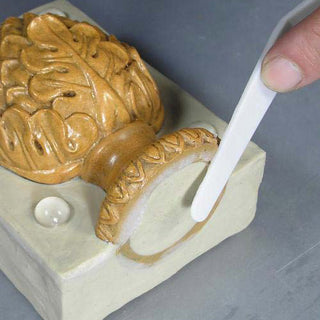
Making side two of this 3D mold is simply a repetition of the steps performed in making side one. Notice how easily each side of the mold separates from each other.
- Apply Mold-Dit to the sides of your mold.
- Build mold walls up around your object.
- Apply a initial skim coat of CopyFlex® to the surface and details of your object.
- Pour CopyFlex® over your skim coat up to your pour line and let cure.
- Remove your walls and unmold.
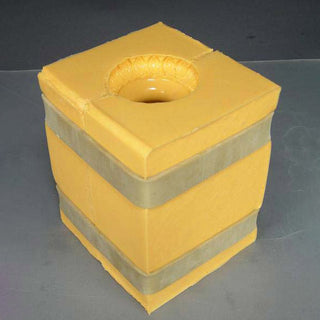
Step 13
You have just learned how to make a 3D mold. In these pictures you can see the silicone flanges with very nice alignment keys which ensure a good fit. When this mold is empty and reassembled, it can be closed tightly with rubber bands or tape, creating compression between the two rubber flanges. This gives you an excellent seal and almost eliminates the existence of a seam line on the object being molded. Also notice the opening of the mold and the nice, clean, square cornered edges unencumbered by silicone seepage, called “flash.”