How to Thicken an Object with Safe-D-Clay™
Many objects that would make a good mold are too thin to create a good cavity for casting reproductions. This problem can be resolved easily using Safe-D-Clay™.
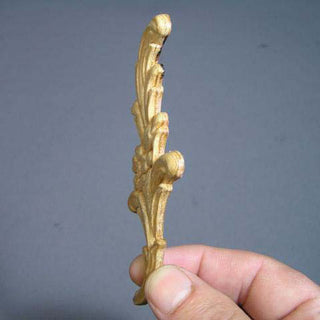
Step 1
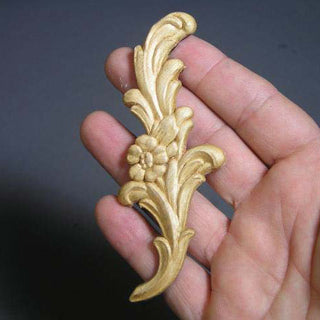
The wood appliqué pictured here would make a great mold but it is too thin. In this tutorial, Safe-D-Clay™ will be used to thicken the appliqué in order to make a deeper cavity when a mold is made over it.
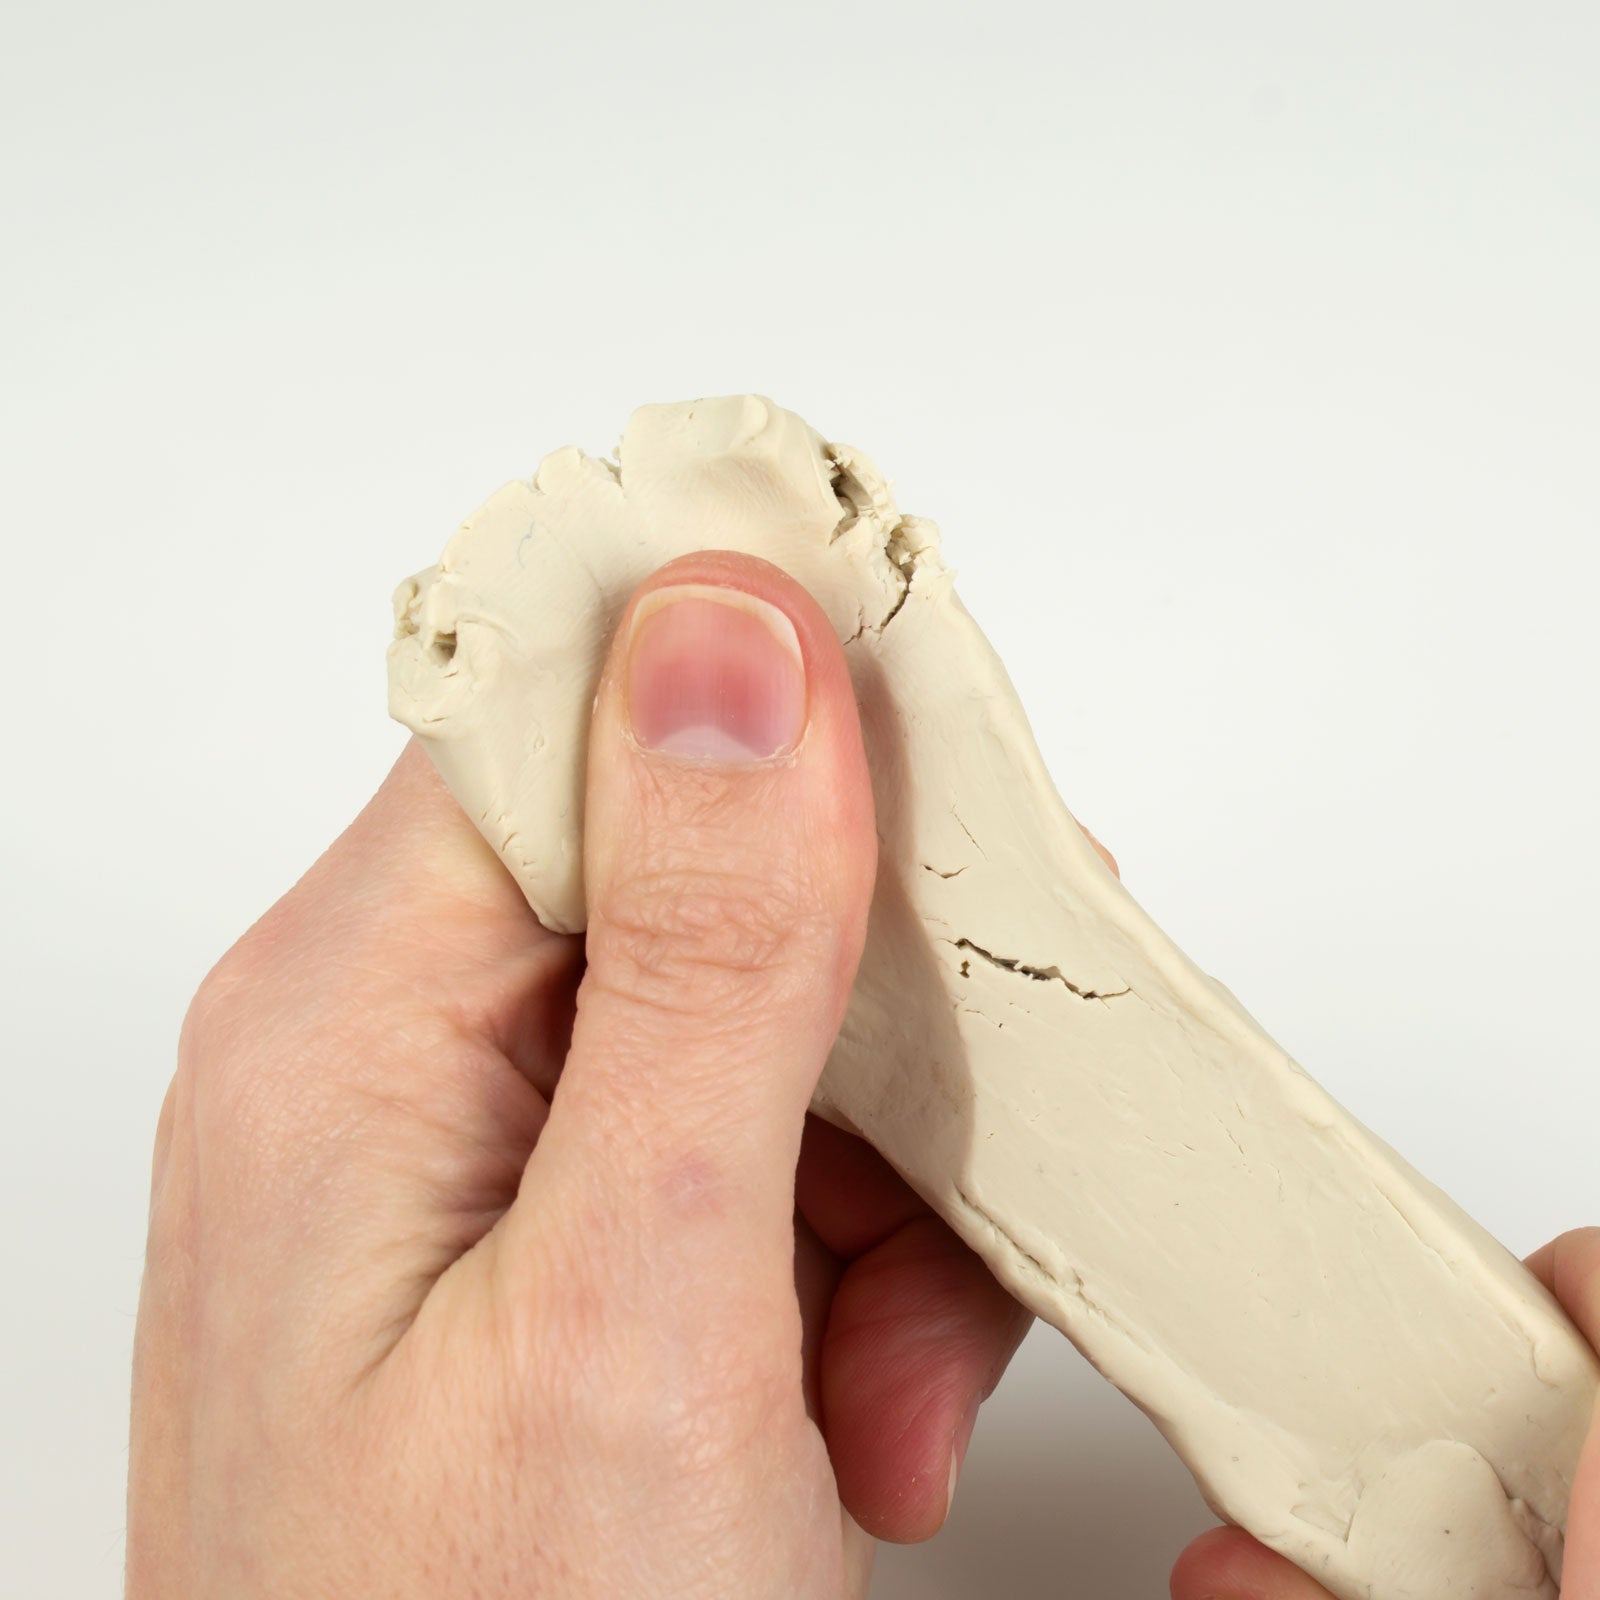
Step 2
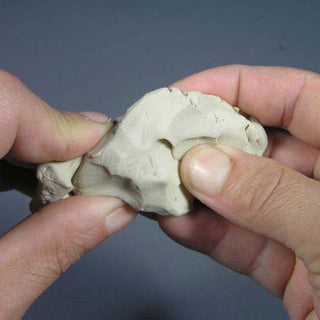
Safe-D-Clay™ is softened by kneading with hands.

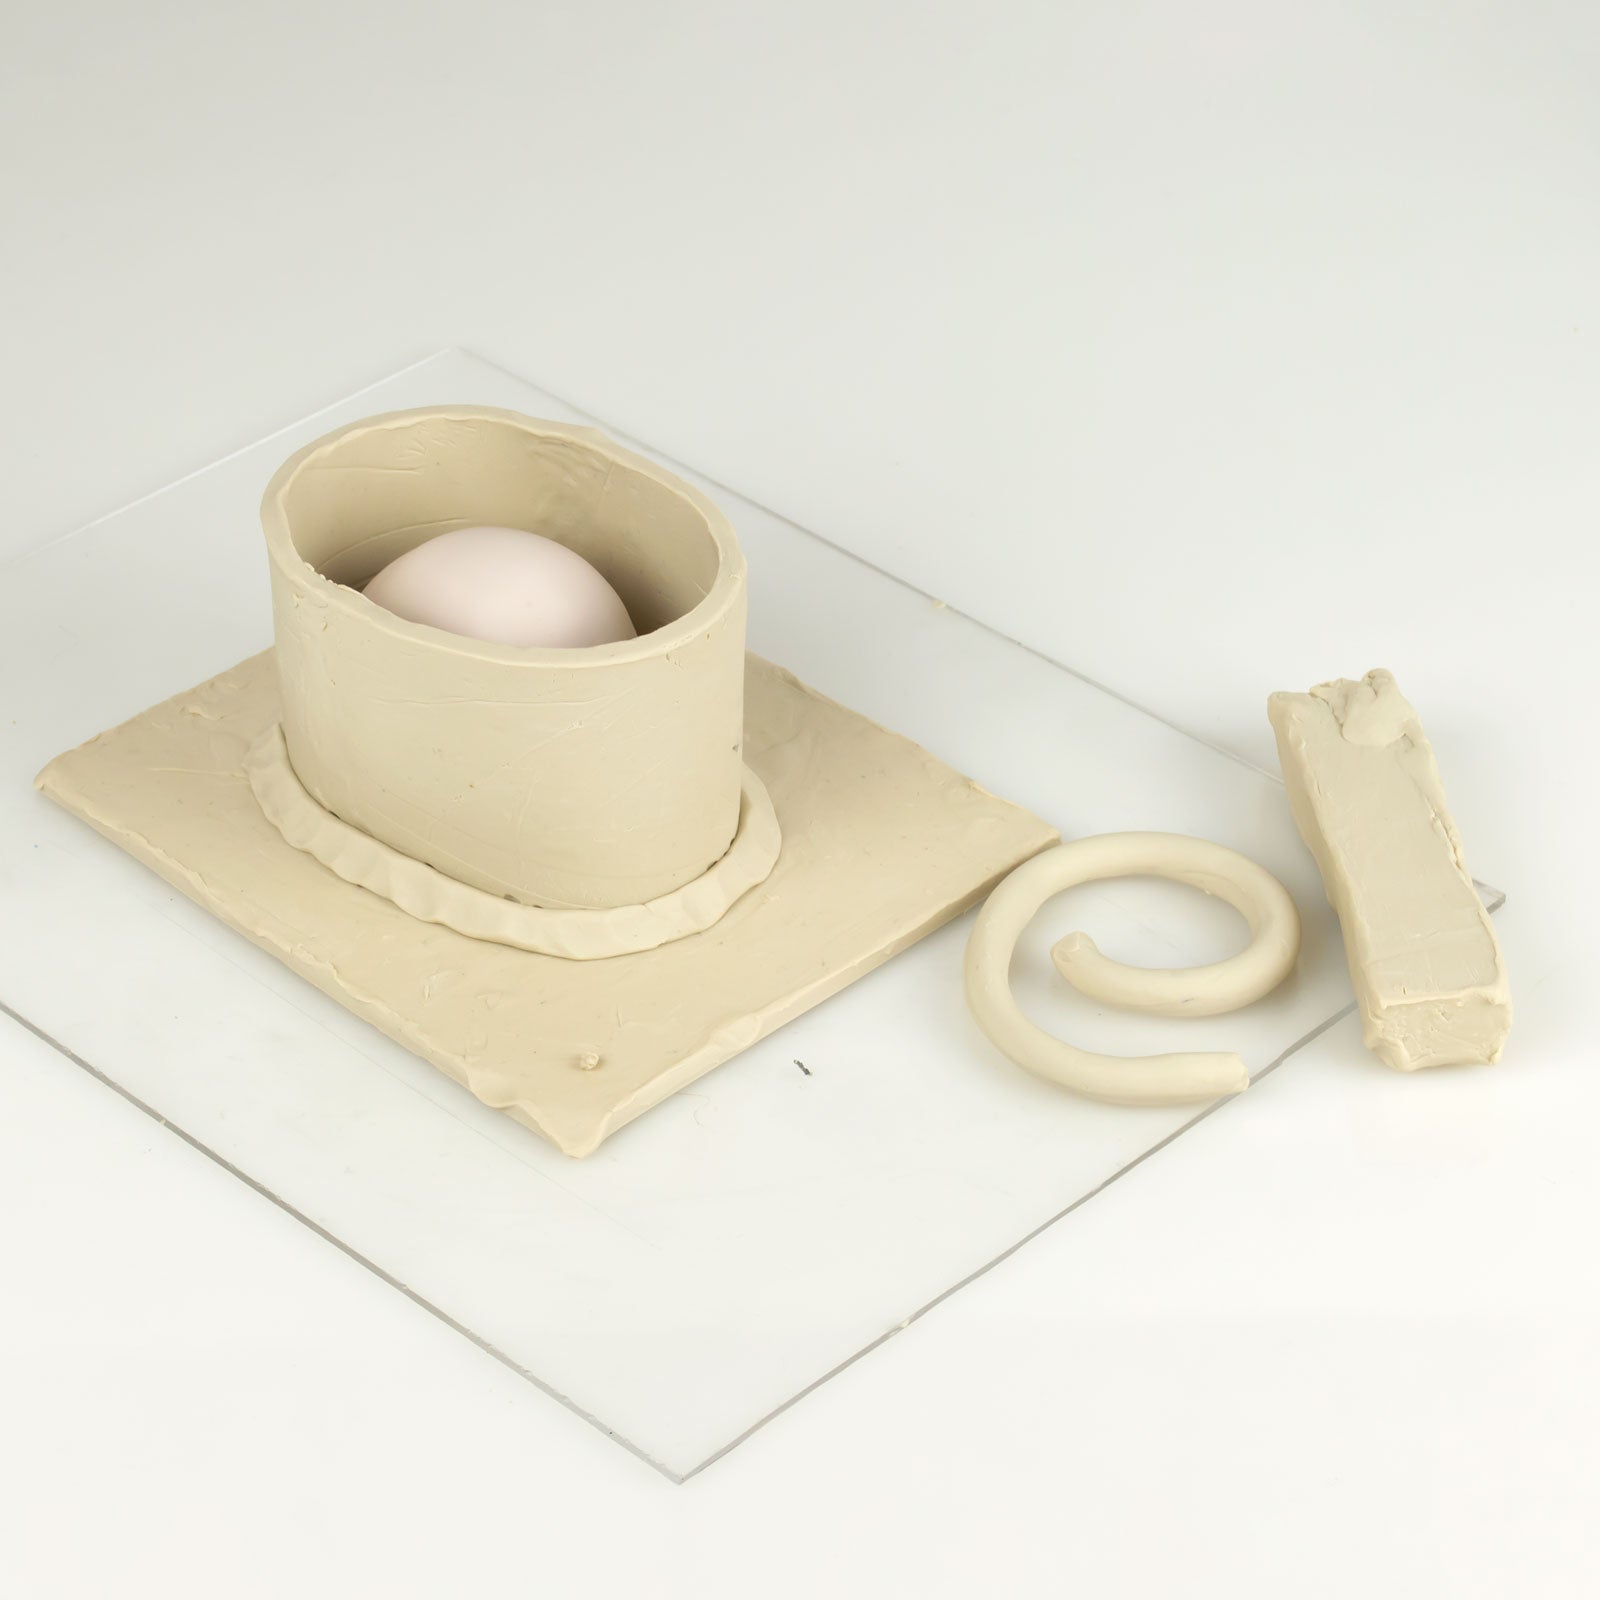
Step 3
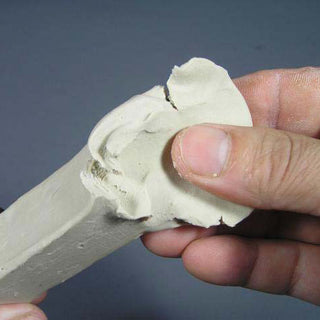
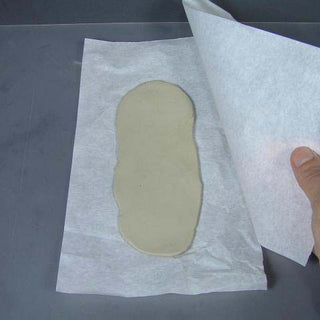
The softened clay is elongated in the general shape of the appliqué. The Safe-D-Clay™ is then sandwiched between two sheets of parchment paper and rolled out with a pin to the desired thickness.
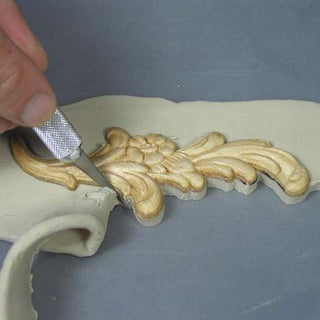
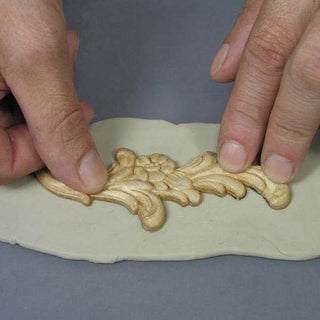
Step 4
The wooden appliqué is then pressed lightly, detail side up, onto the rolled out Safe-D-Clay™. Using the appliqué as a template, cut through the Safe-D-Clay™ with an exacto knife or a needle tool so that clay remains only underneath the model.
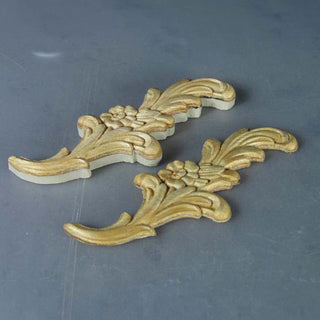
Step 5
The model has been thickened and will now create a mold cavity with a usable depth.