How to Prepare Jewelry for Moldmaking with Safe-D-Clay
Step 1
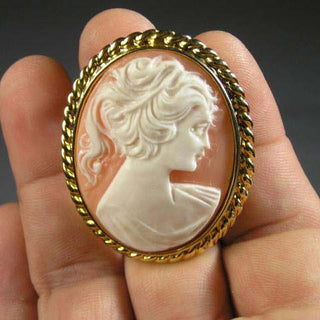
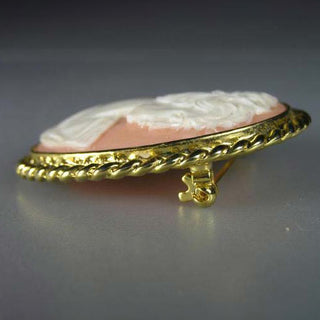
A brooch can present two problems that make it difficult to mold.
1- Portions of a brooch, like the edging of the brooch pictured, can be too thin to make a deep enough cavity in the mold.
2- The pin on the back keeps the brooch uneven and complicates the creation of an open back, once the mold has been made.


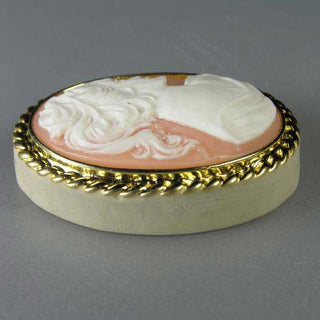
Step 2
Roll out Safe-D-Clay™ slightly thicker than the depth the pin protrudes from the back of the brooch. Press the brooch, pin side down, into the Safe-D-Clay™ so the back of the brooch is flush with the top of the clay bed.
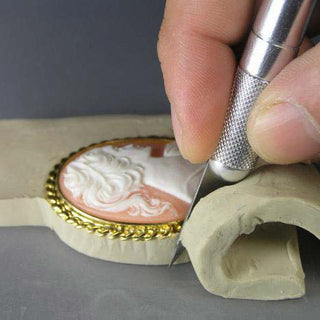
Step 3
Using the brooch as a template, cut through the Safe-D-Clay™ with an exacto knife or a needle tool so that the clay remains only underneath the brooch. The brooch is now ready to mold, since the edge has been thickened and the irregular back and protruding pin have been leveled by the Safe-D-Clay™.