How to Make a Large Diamond Mold With CopyFlex®
Below we show you the step by step tutorial on how to make your very own Diamond Mold for making large diamonds out of isomalt, gelatin, resin, or other liquid casting materials.
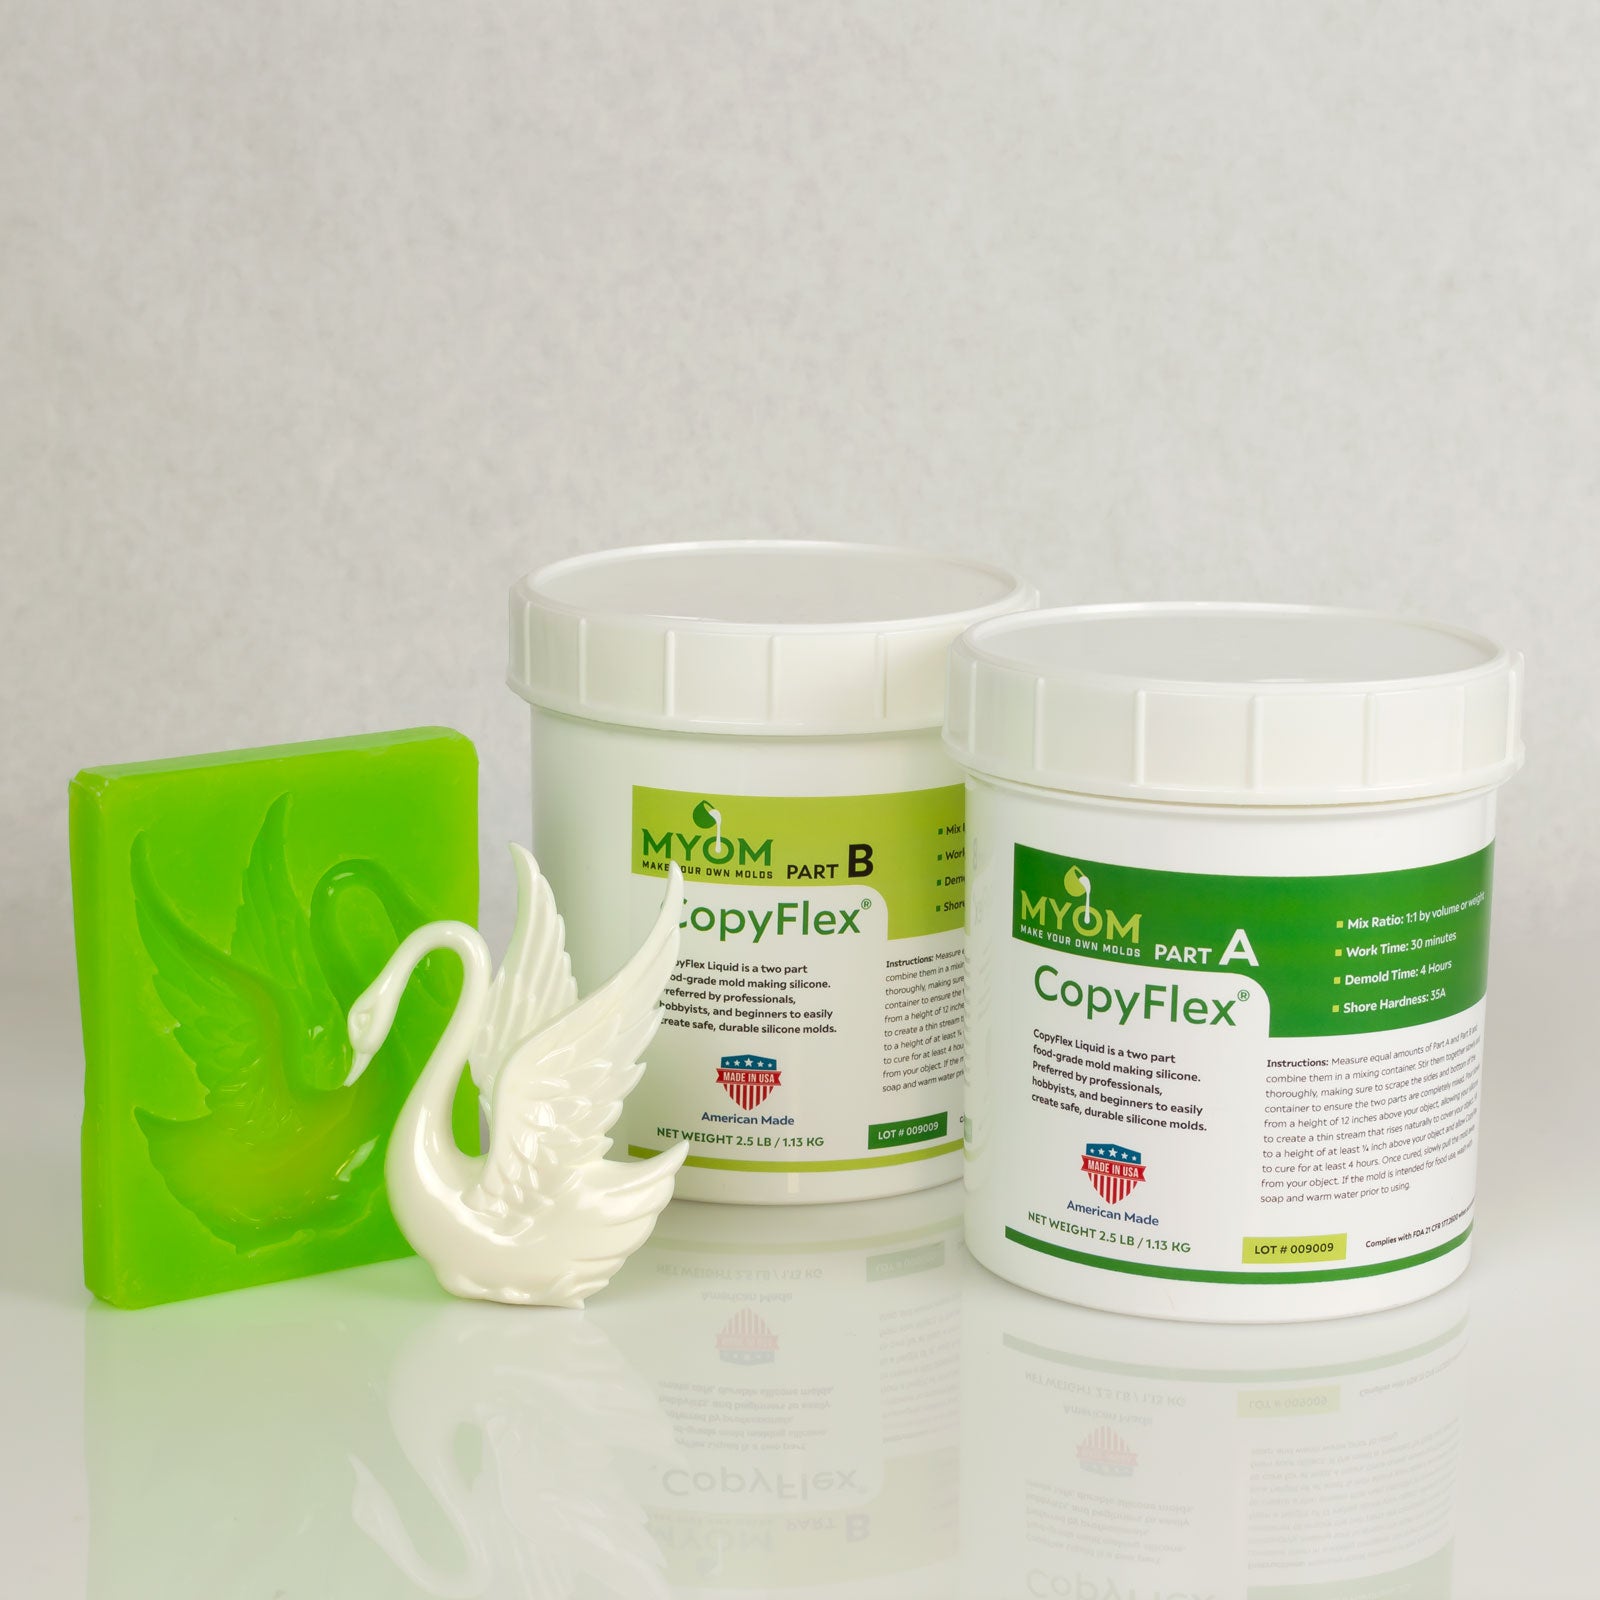
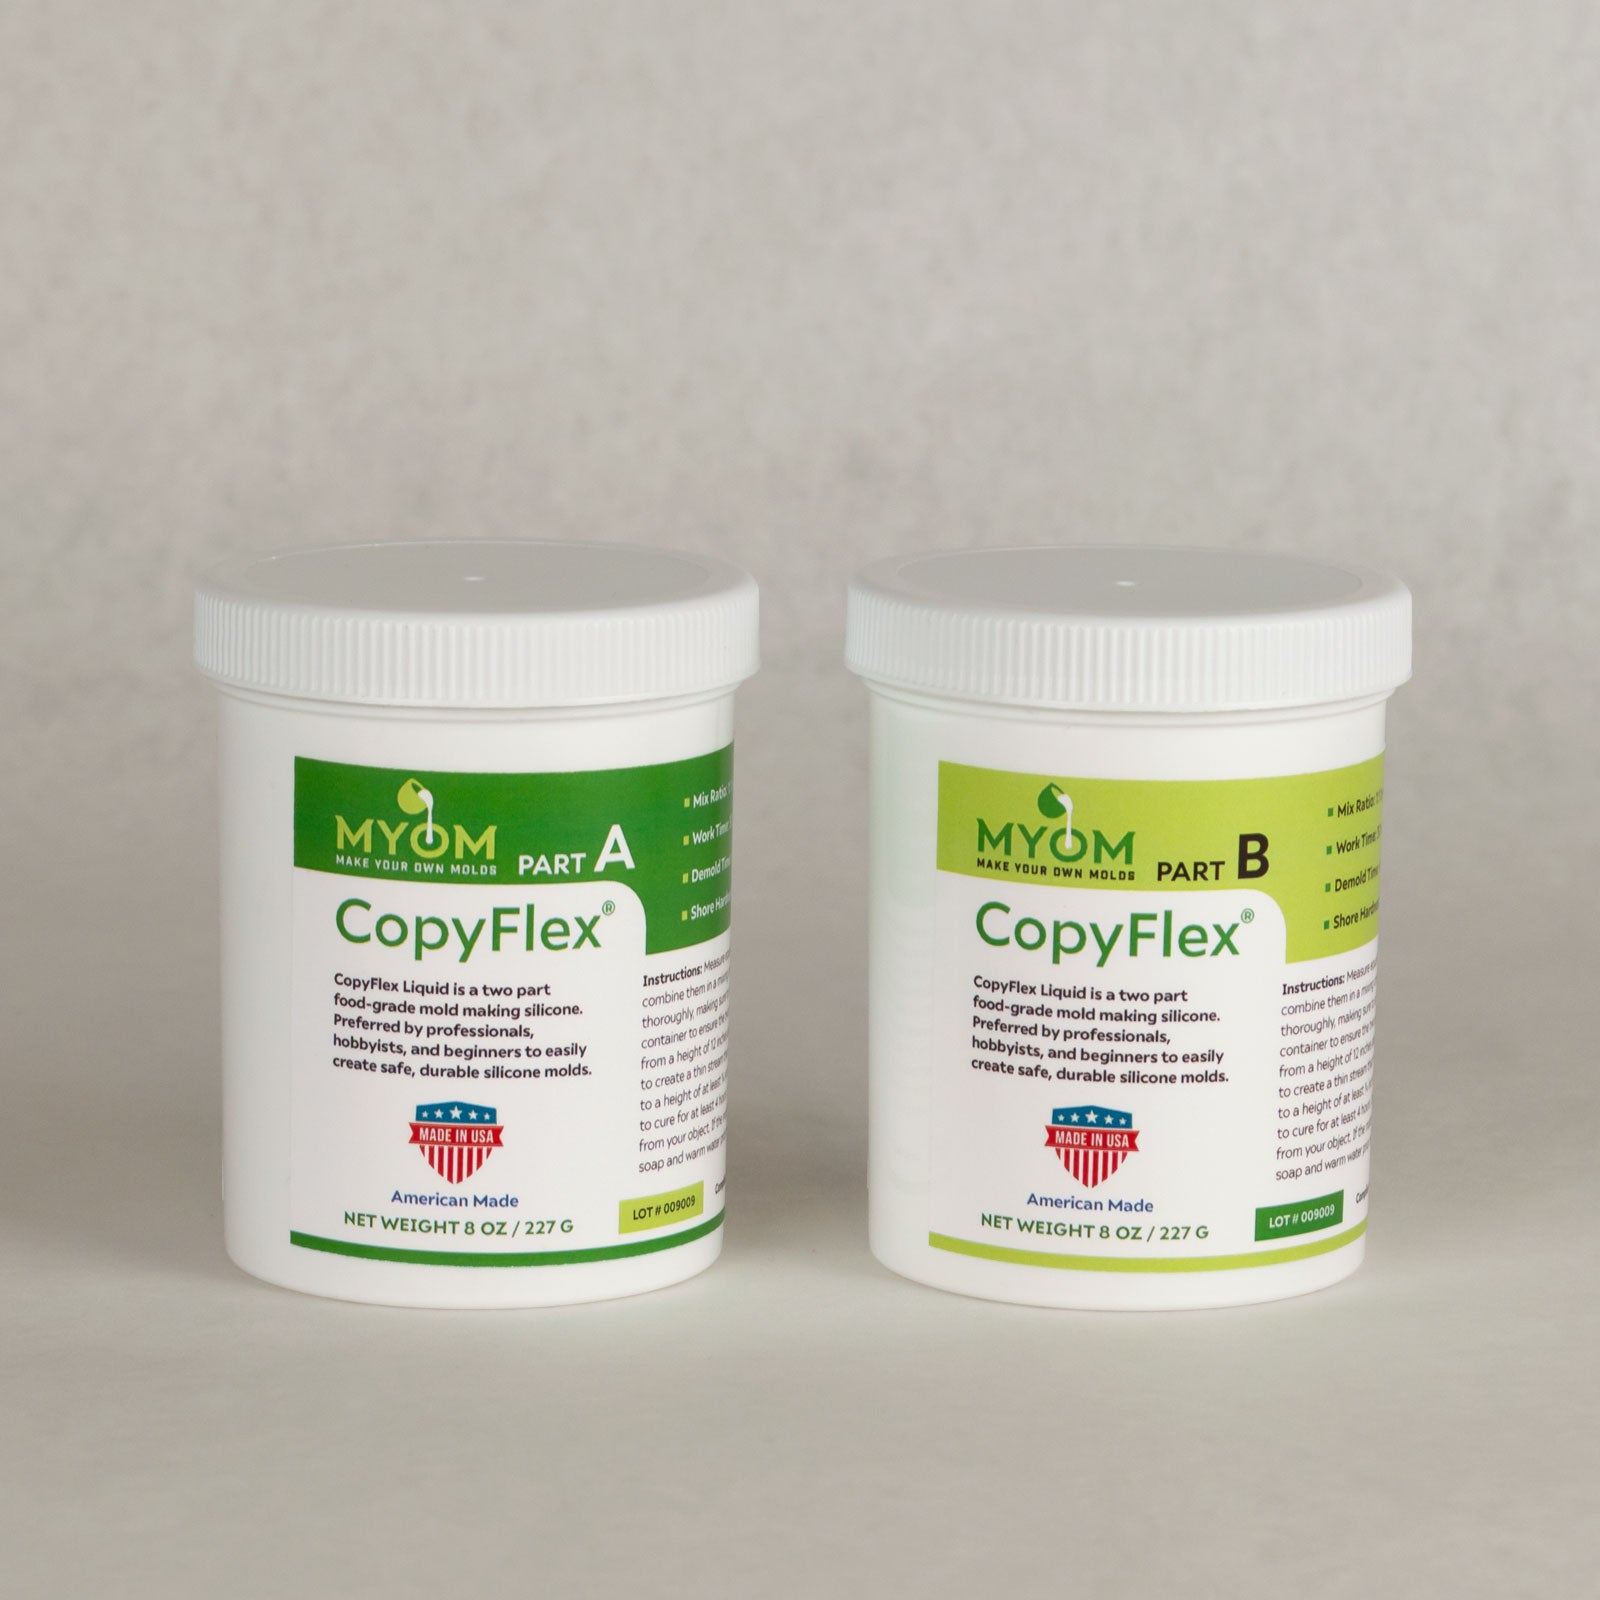
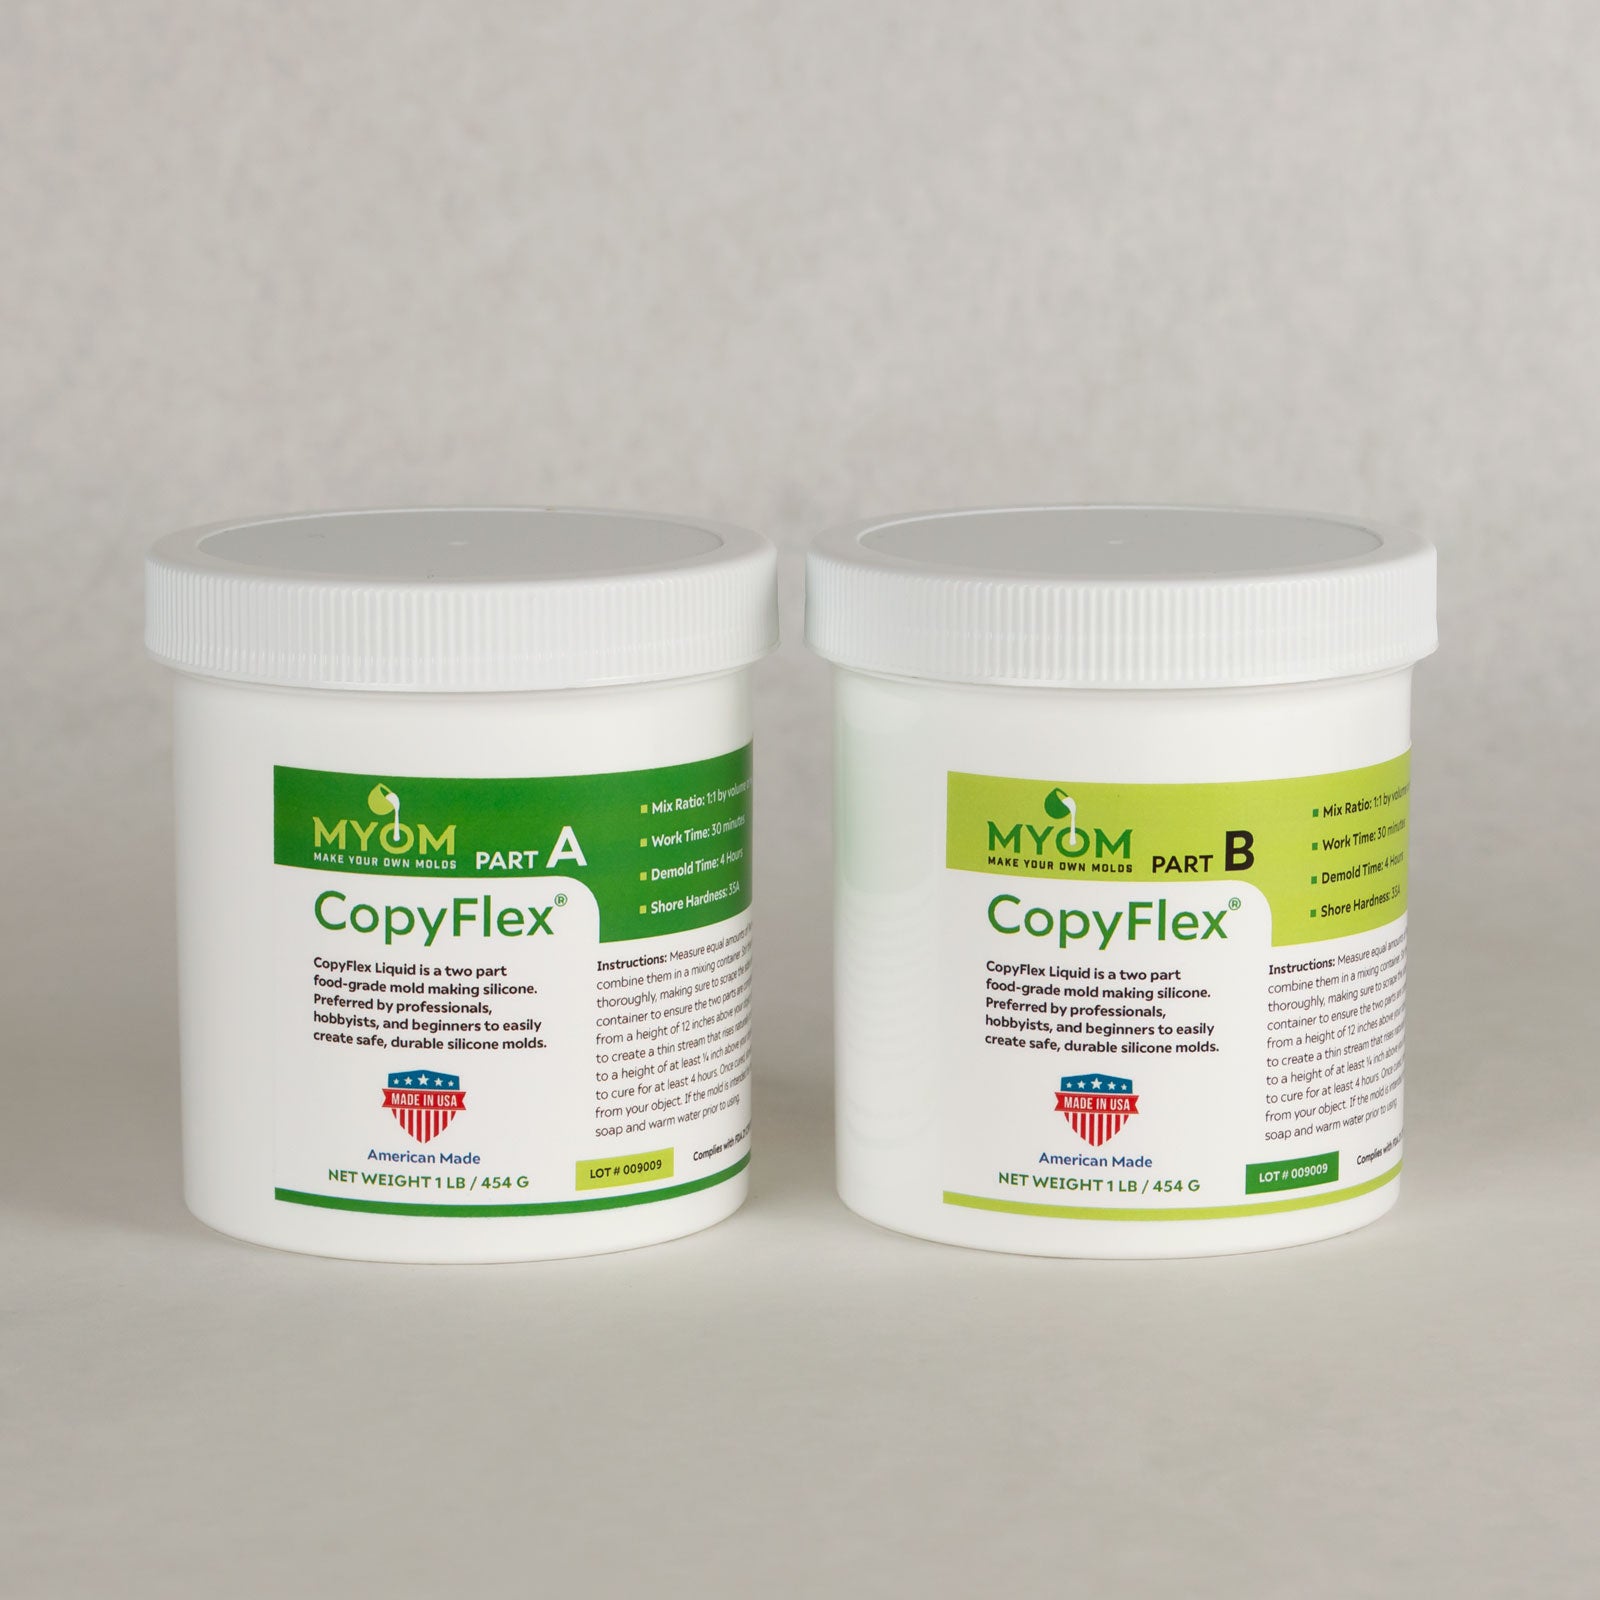
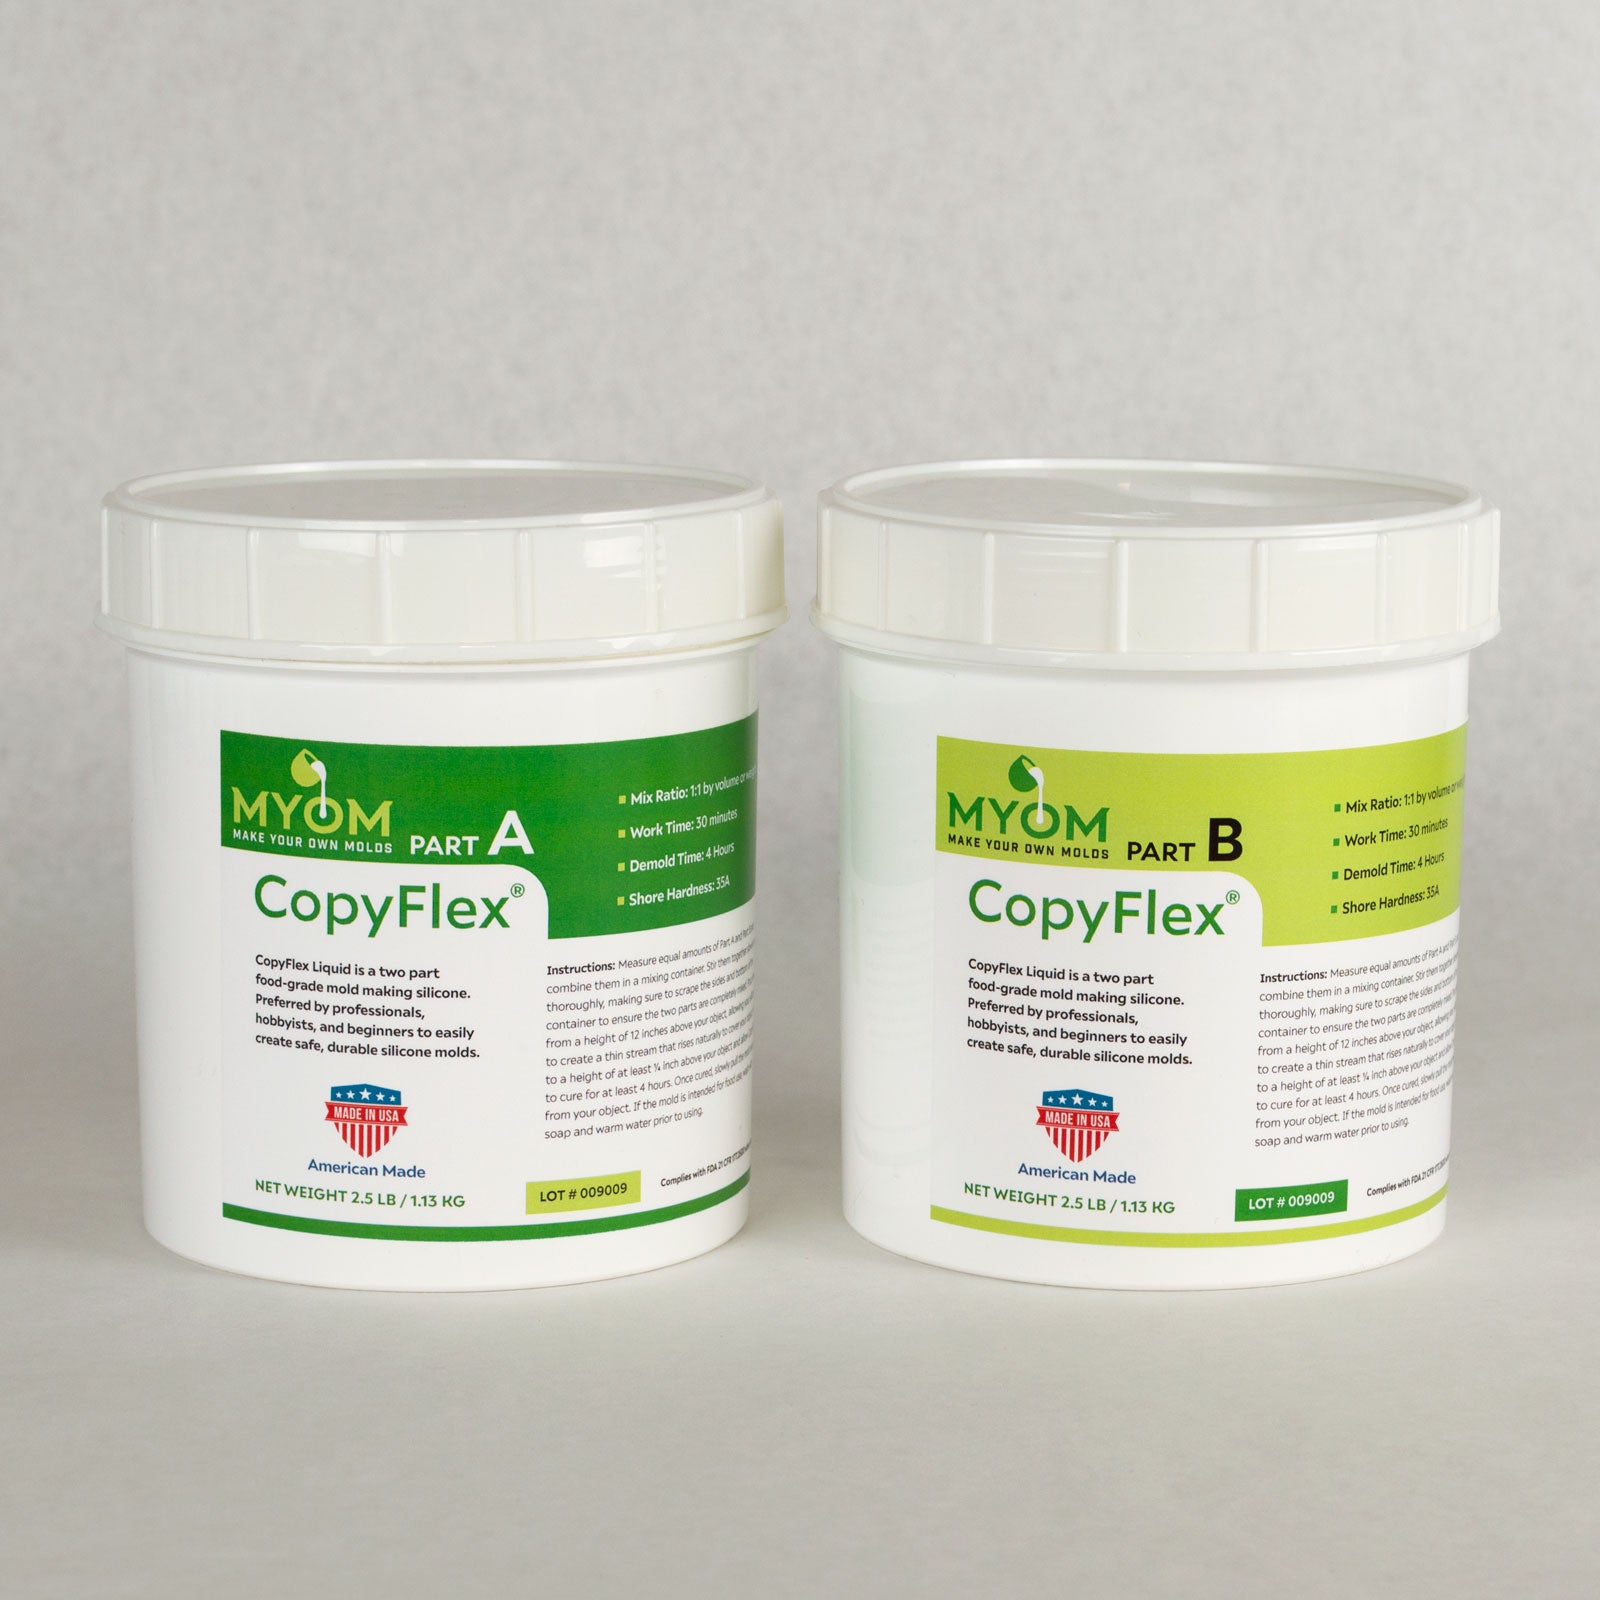
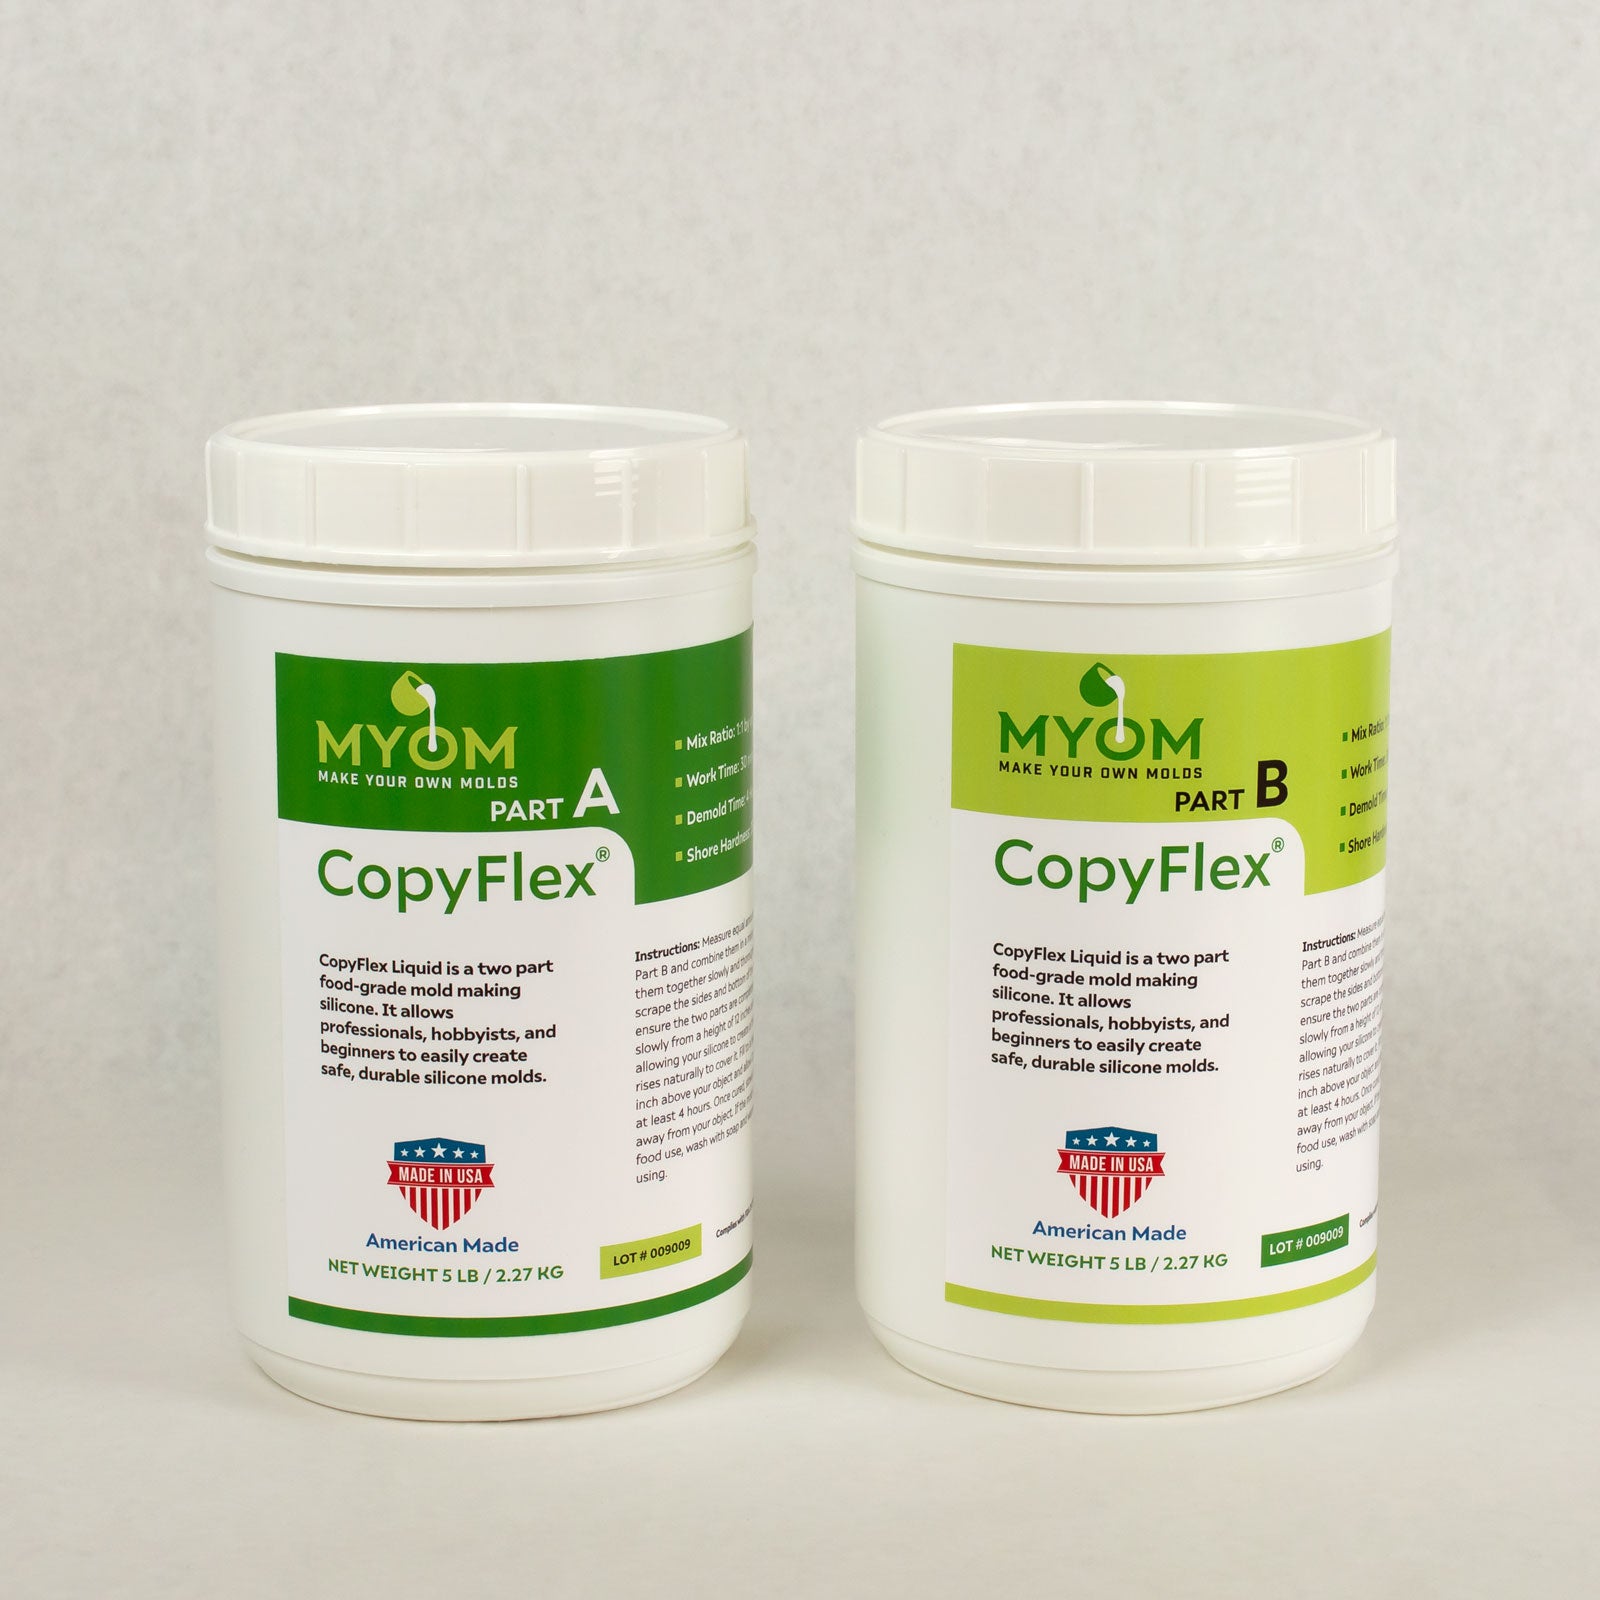
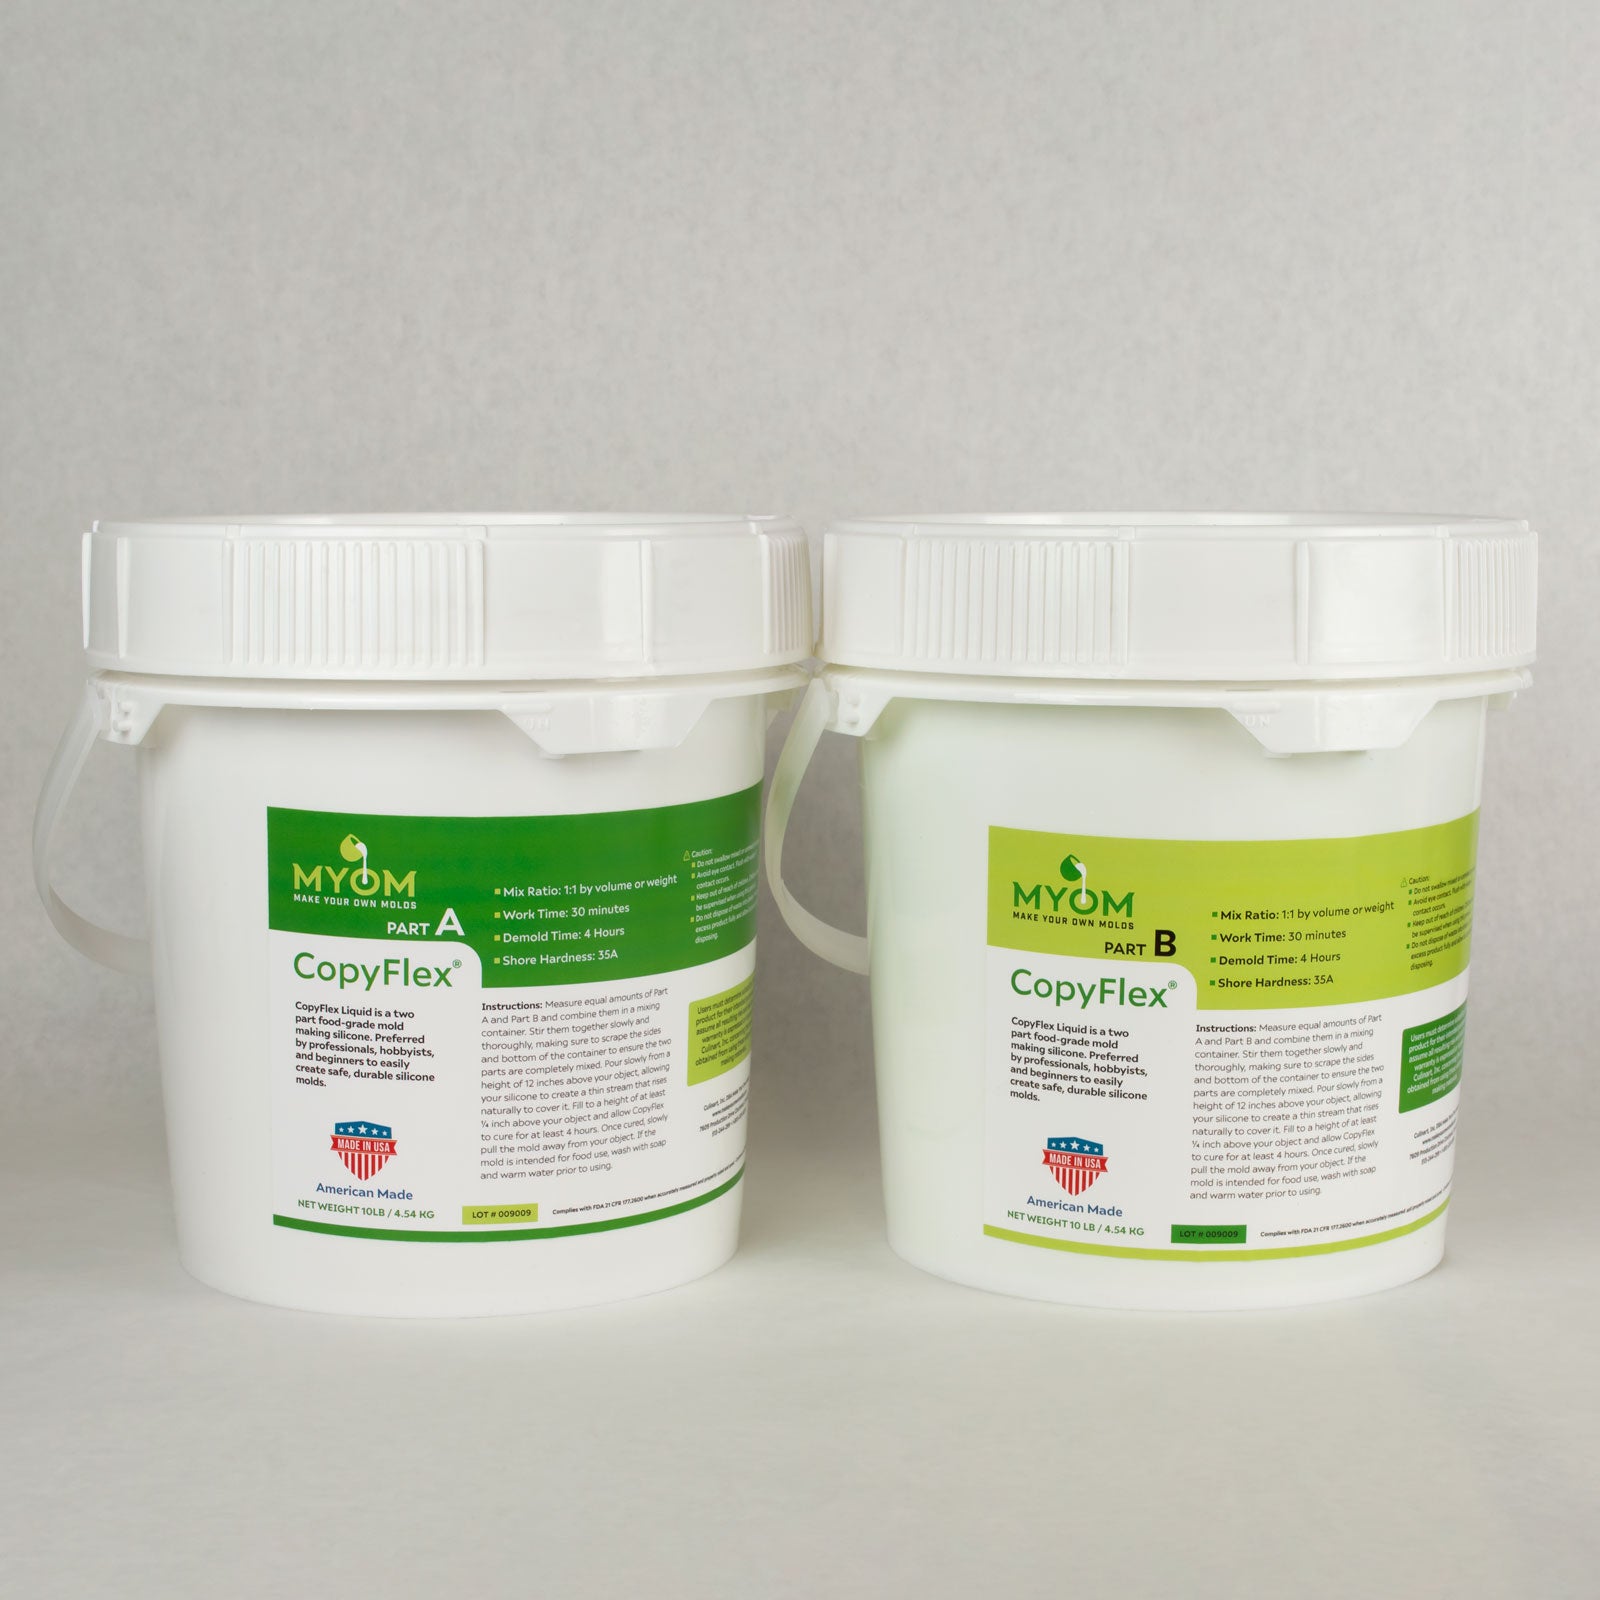
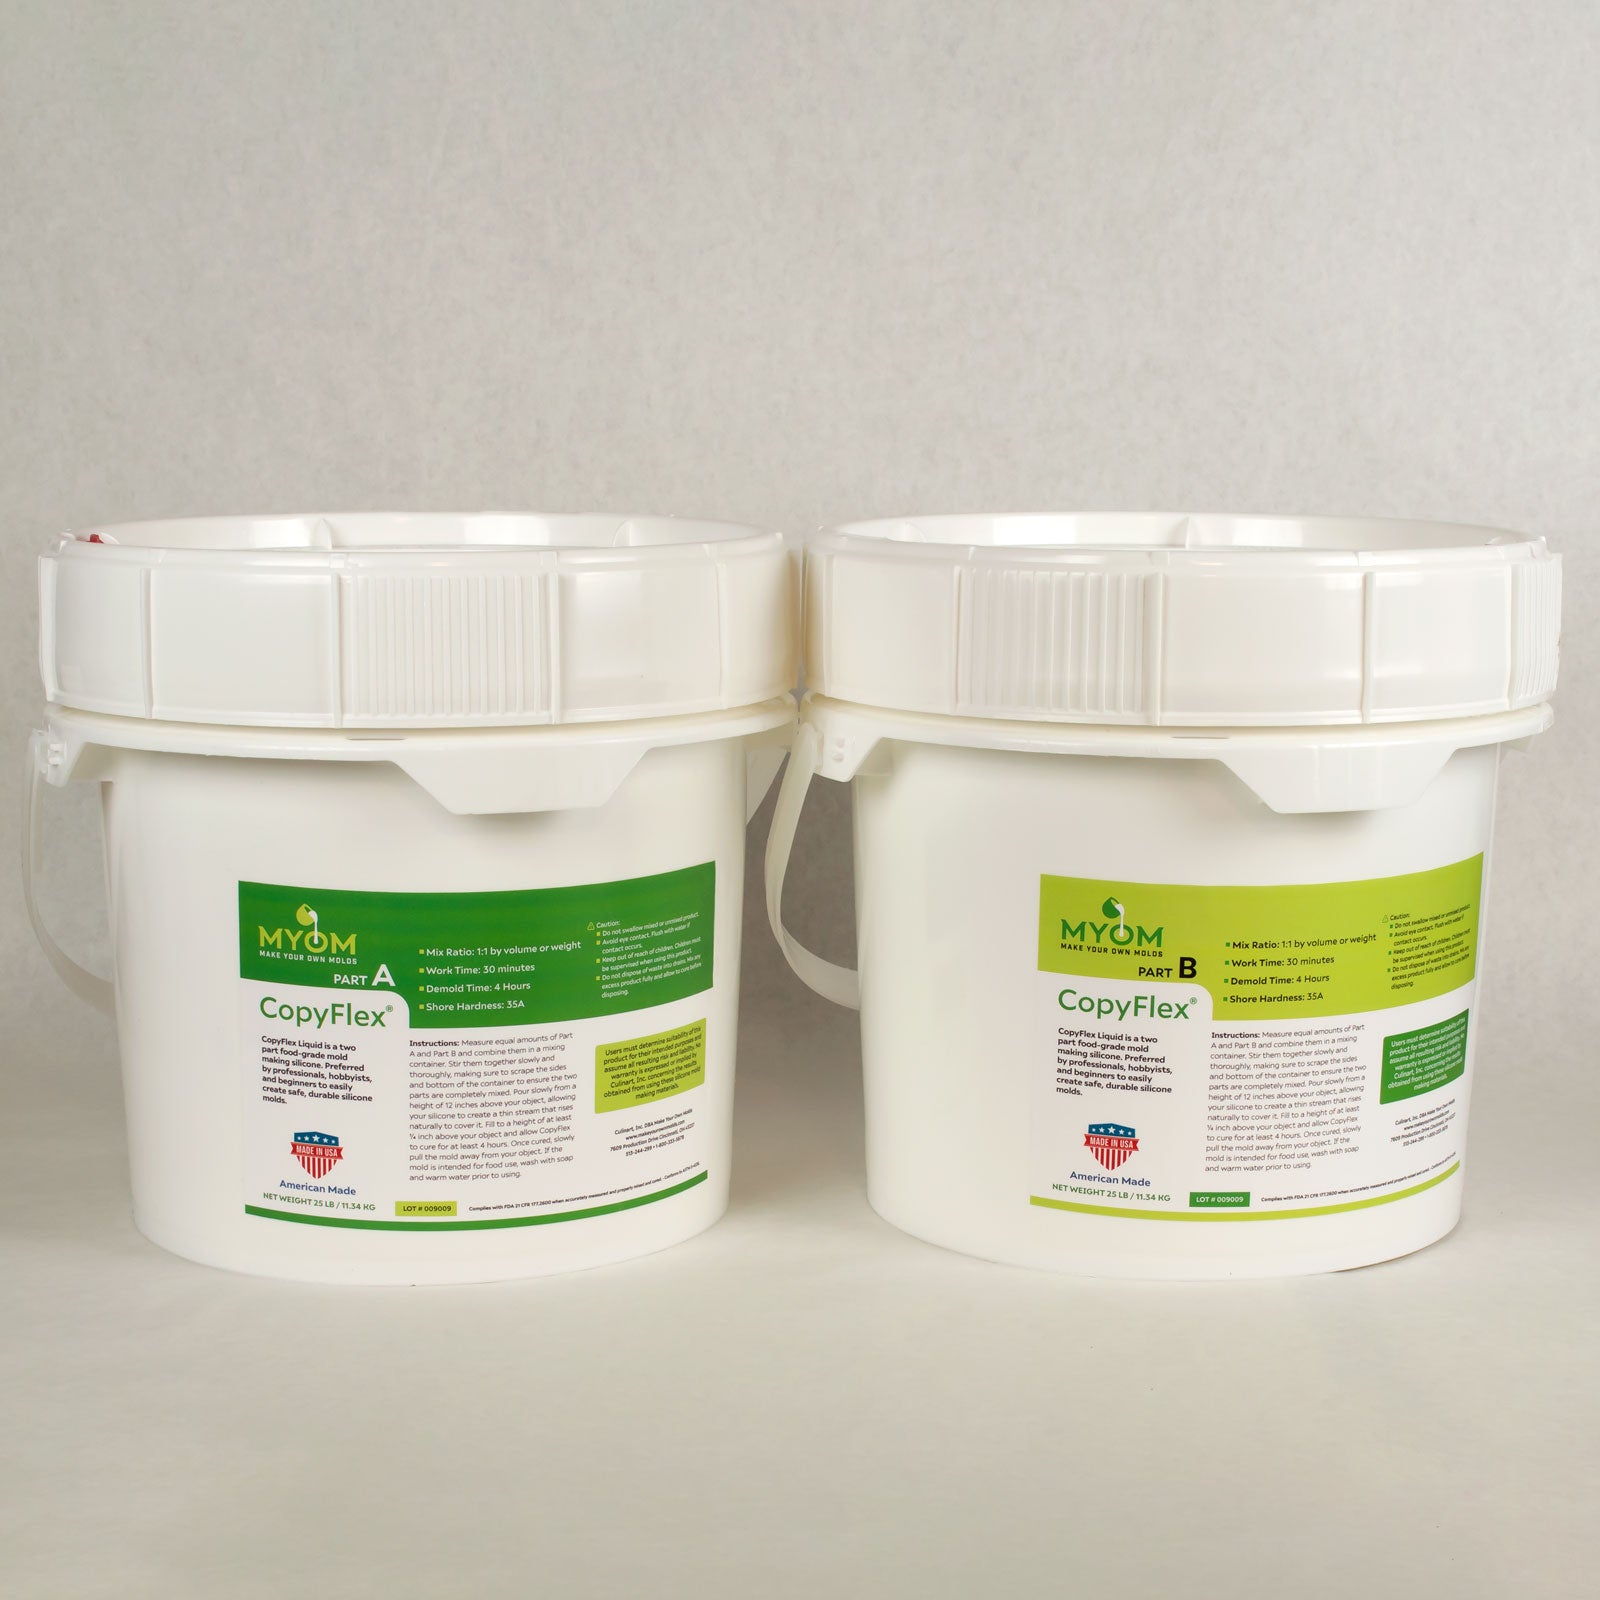
*Please note that this tutorial was originally made using an earlier version of our CopyFlex® material. The instructions are accurate, but any CopyFlex® you order will be our new, improved clear green formula, not the opaque orange you see in these photos.
- CopyFlex Liquid Silicone
- Mold-Dit
- Safe-D-Clay
- Shipping tube for mold box
- Large rubber bands
- Natural bristle brushes
- Modeling tools
- Glass diamond master object
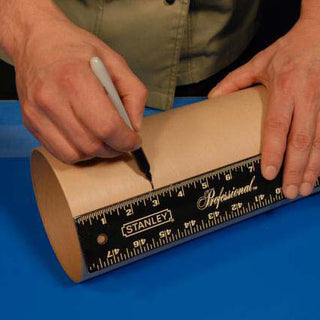
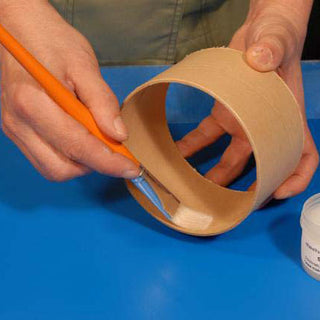
Step 1
Measure and cut a section off a shipping tube at least 1 inch taller than your diamond, in order to create a “mold box”. Apply Mold-Dit™ to the inside of the mold box and wipe away any excess, leaving the inside coated and shiny.
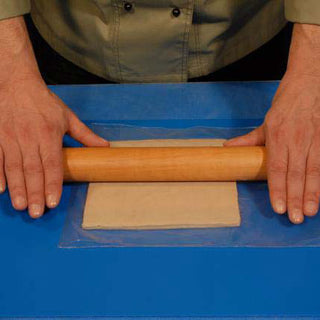
Step 2
Roll out Safe-D-Clay™ so that it is larger than the diameter of the mold box and about 1/4 to 3/8 inch thick. Place your mold box on top of Safe-D-Clay™, then trace around the inside of the mold box to score the clay and leave a circular impression.
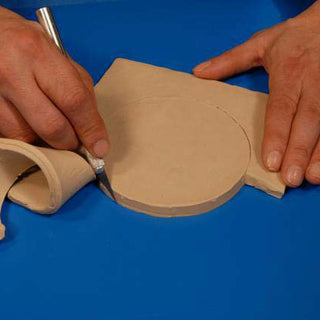
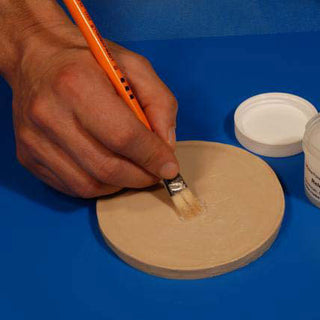
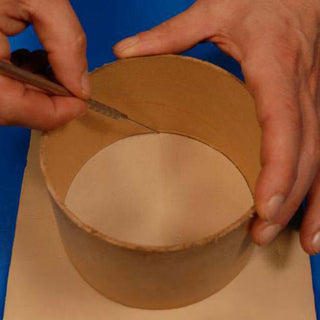
Step 3
Cut the clay circle out along the score line with a sharp knife. Apply a thin coat of Mold-Dit™ to the top of the clay circle. Apply only enough to make the surface shiny.
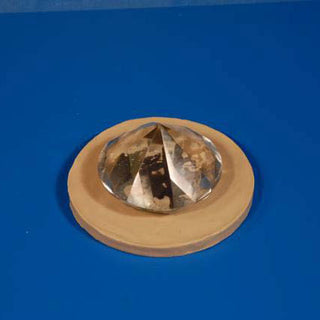
Step 4
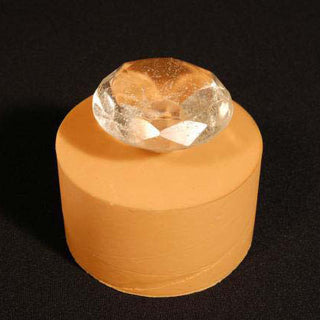
Place your glass diamond, top side down, in the exact center of the clay circle. The Mold-Dit™ applied in Step 6 ensures good contact. Do not press the diamond down into the Safe-D-Clay™ circle. It should rest on the top surface only.
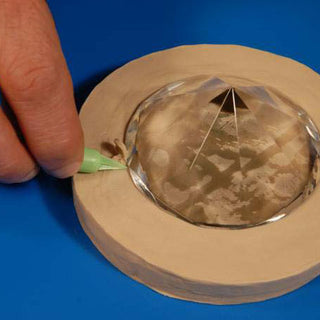
Step 5
Apply a strip of Safe-D-Clay™ around the entire glass diamond, flush with the edge. This is the widest part of the diamond and makes an excellent parting line. Press the Safe-D-Clay™ inward to achieve full contact with the diamond and trim lightly with a modeling tool to ensure a level, tight connection between your clay bed and diamond.
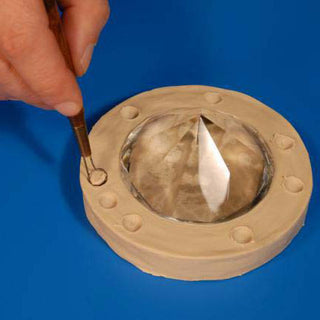
Step 6
With a modeling tool, carve circular indentations in the clay flange surrounding the diamond. Notice that we have created three indentations close together on one side to ensure easy orientation of the mold when it is assembled.
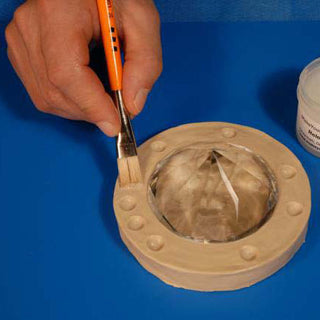
Step 7
Apply a thin coat of Mold-Dit™ to the top of the clay flange, including the indentations surrounding the diamond.


Step 8
Measure the height of the diamond as it rests in the clay bed. In this example we have a height of 2 3/8 inches. Adding 1/2 inch to the total height will determine where to mark the inside of the mold box to establish the CopyFlex® fill height. In this example the mold box was marked 2 7/8 inches up from the bottom.
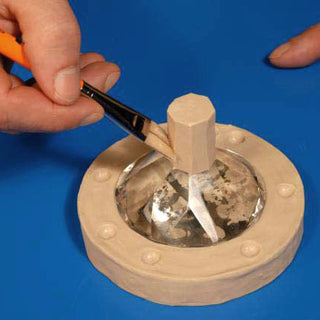
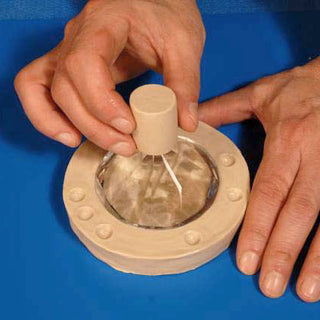
Step 9
Using Safe-D-Clay™, form a cylinder 1/2 inch in diameter by 1 inch long and connect it to the diamond by pressing it down on the point until it is flush with the glass diamond all the way around. Shape the clay to match the facets of the diamond by cutting down the sides of the clay cylinder in line with the facets of the diamond. Apply a thin coating of Mold-Dit™ to the clay cylinder. This will create your pour hole for the final mold.
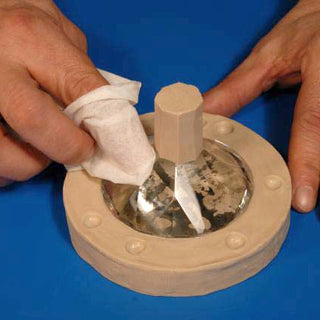
Step 10
Wash the diamond with a light mixture of dish soap and water to remove fingerprints and any excess Safe-D-Clay™ and Mold-Dit™. Dry with a soft lint free towel. For best results, the diamond must be very clean and buffed to a high shine.
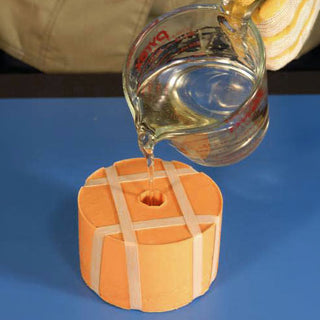
Step 11
Place the mold box over the diamond & clay bed assembly, then press the clay bed against the inside of the mold box with a modeling tool so that the clay is completely sealed against the inside wall. Combine and mix parts A and B of your CopyFlex® Liquid Silicone and pour into the mold box up to the fill line. Allow to cure undisturbed for at least four hours at 70 degrees F. (To determine the amount of Copyflex® you will need, please see our calculator here.)
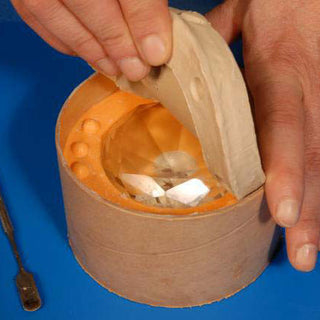
Step 12
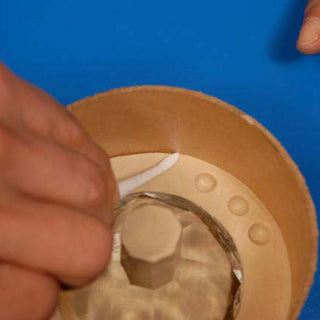
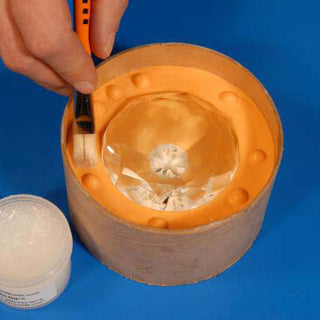
Once the CopyFlex® has cured, turn the mold box upside down to reveal the clay bed underneath. Remove the Safe-D-Clay™ and, using a natural bristle artist’s brush, apply a thin but thorough layer of Mold-Dit™ on the entire CopyFlex® Silicone flange area that surrounds the glass diamond to prevent the second half of your mold from sticking to the first. Afterward, wash the exposed portion of the diamond with dish soap and water. Dry and buff this side of the glass diamond to a high shine with a lint free towel.

Step 13
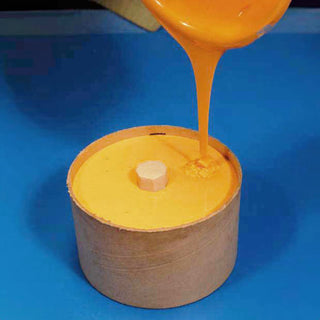
Combine and mix your second batch of CopyFlex® Liquid Silicone and pour into the mold box until it is completely filled. Allow to cure undisturbed for at least four hours at 70 degrees F.
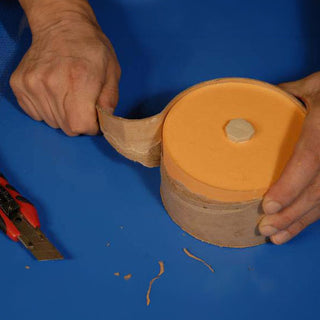
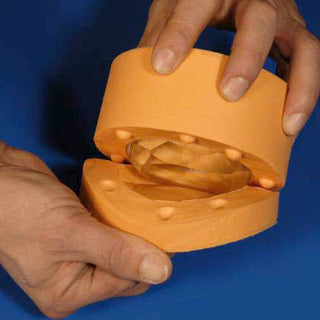
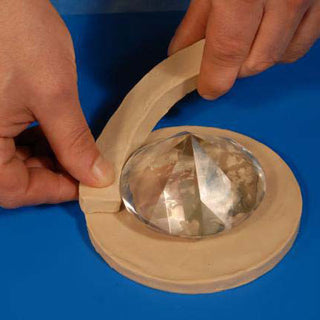
Step 14
Make a small cut along the spiral seam of the paper tube using a sharp knife, then tear the paper mold box away from the cured CopyFlex® mold. Separate the two sides of the CopyFlex® mold and remove the diamond and the clay cylinder used to make the pour hole.
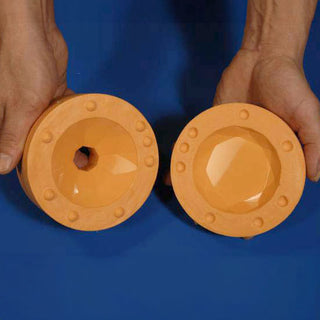
Step 15
Wash the new mold with hot soapy water, then rinse and dry with a lint free cloth. This mold is dishwasher safe. The mold is now ready to use. Notice the unique configuration of alignment keys that ensure perfect assembly and the pour hole that was created by the Safe-D-Clay™ cylinder.
Step 16
In order to use your new mold, you should assemble it by aligning the keys and closing the mold tightly with four large rubber bands. Now it can be used for any clear casting material, such as isomalt, gelatin or clear resin. Simply pour your material in through the pour hole and allow it to set according to the material’s instructions, then remove the rubber bands and demold your new large diamond!